|
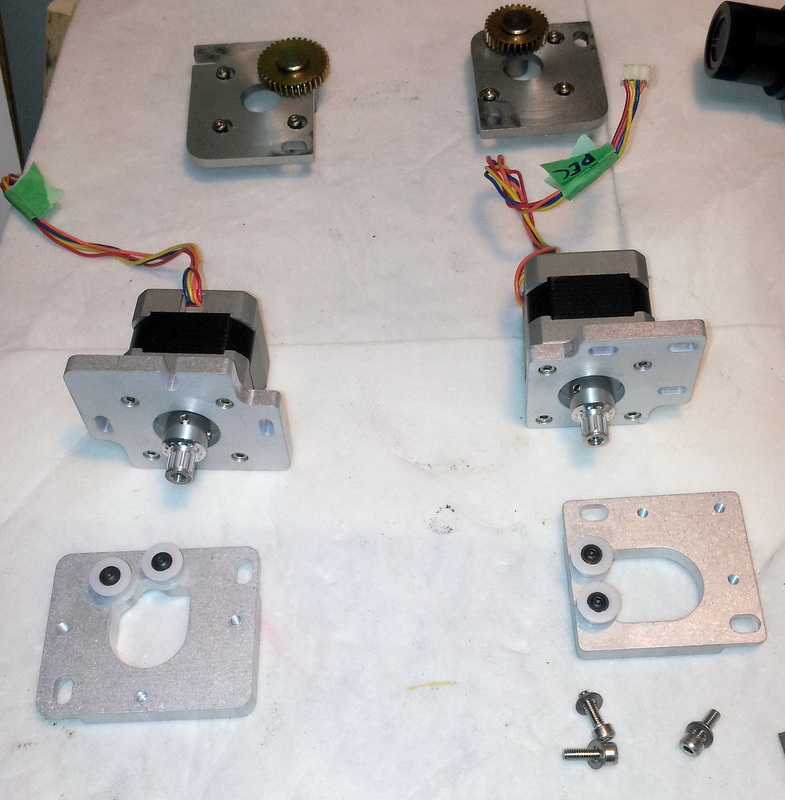
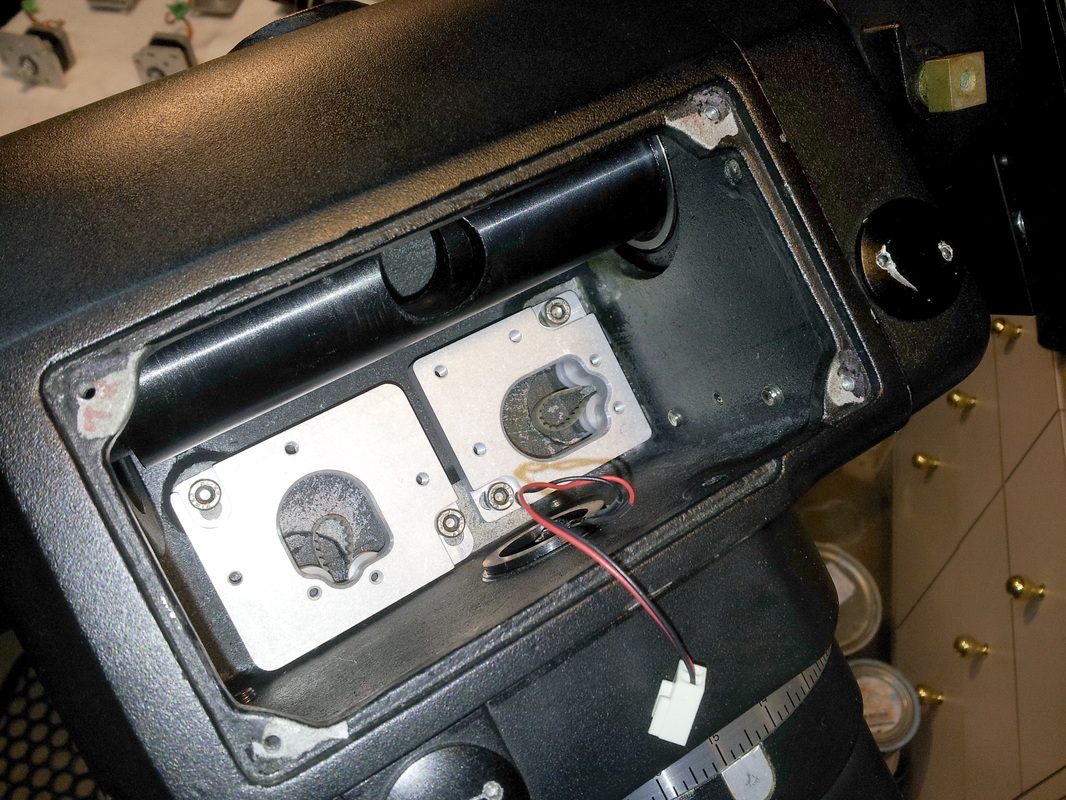
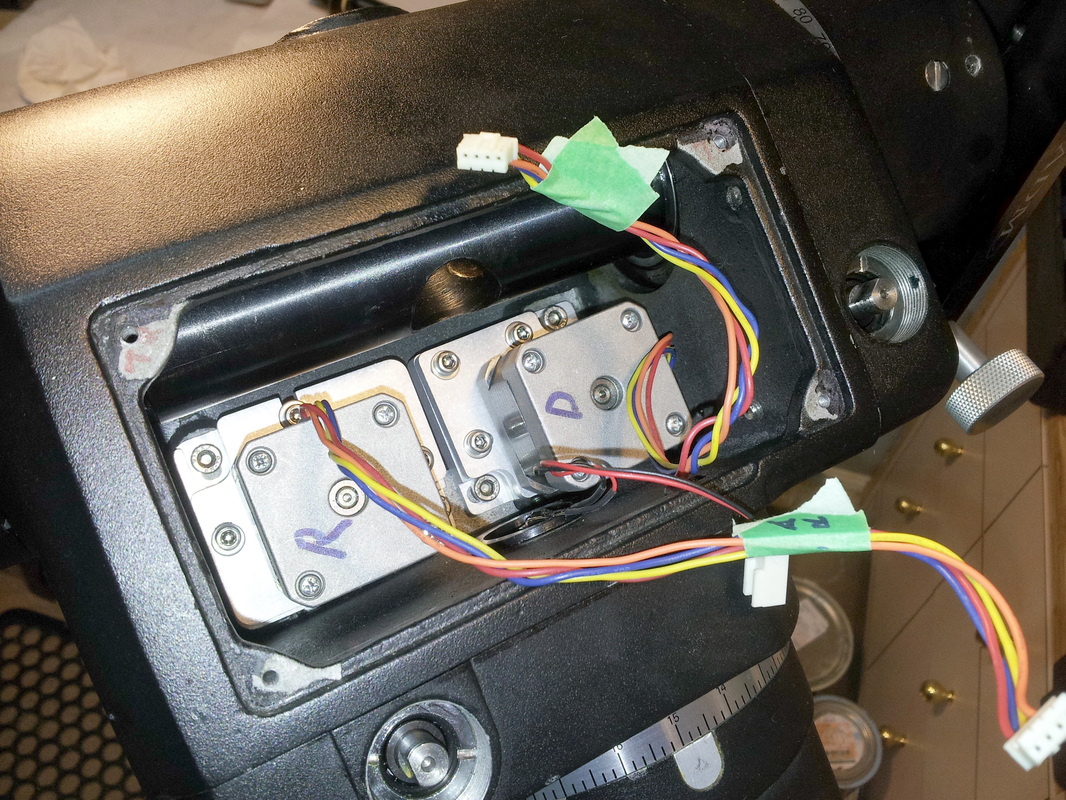
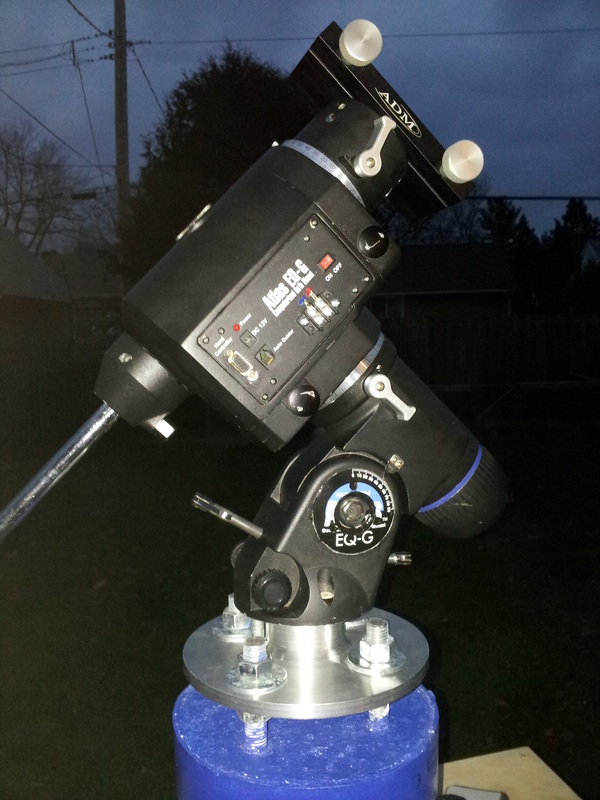
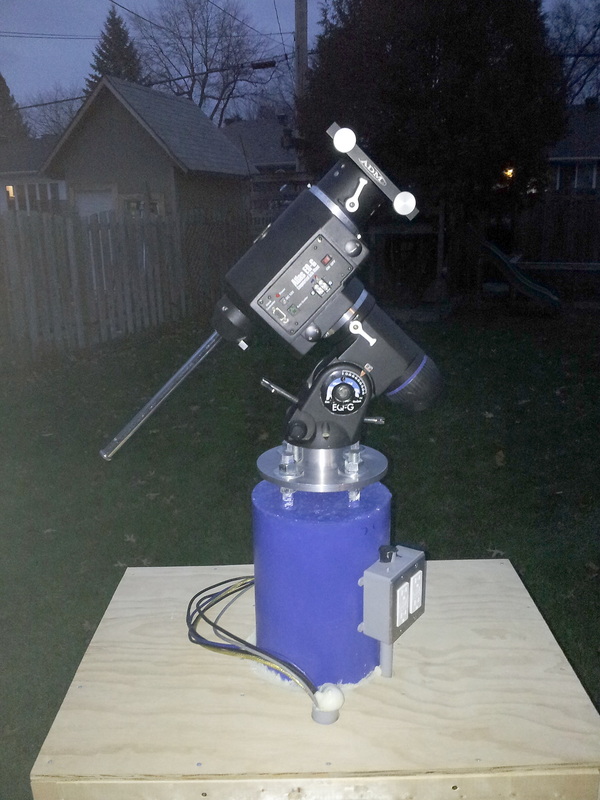
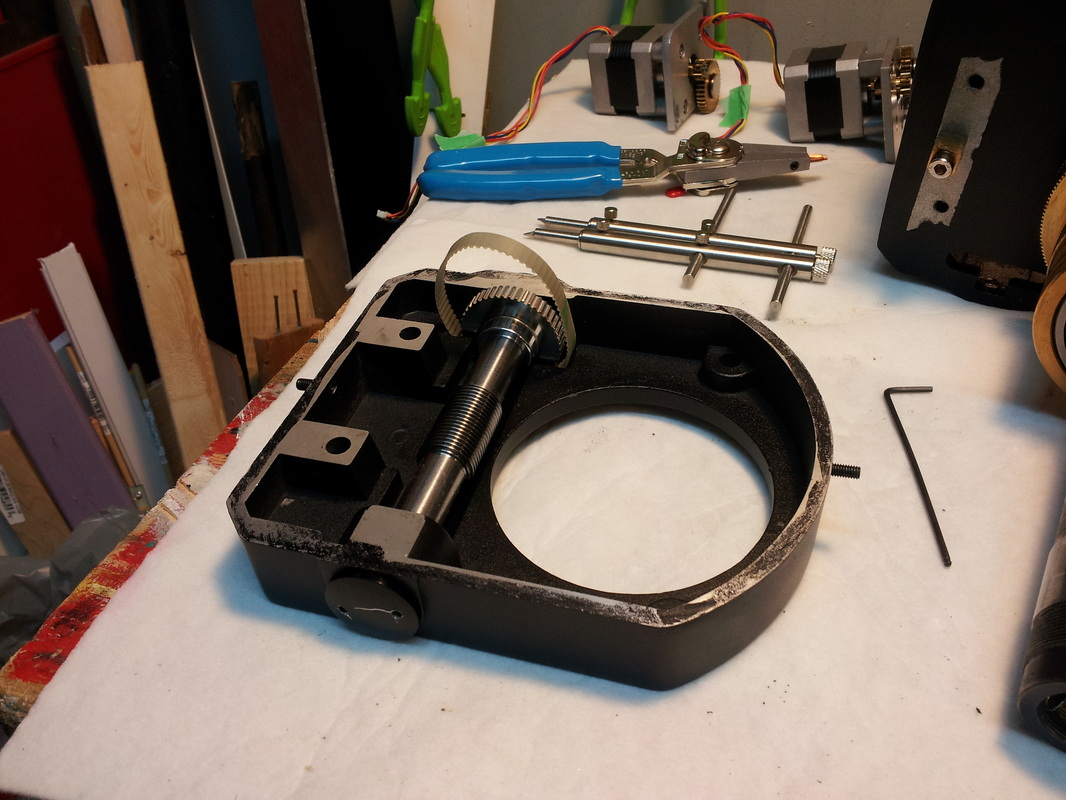
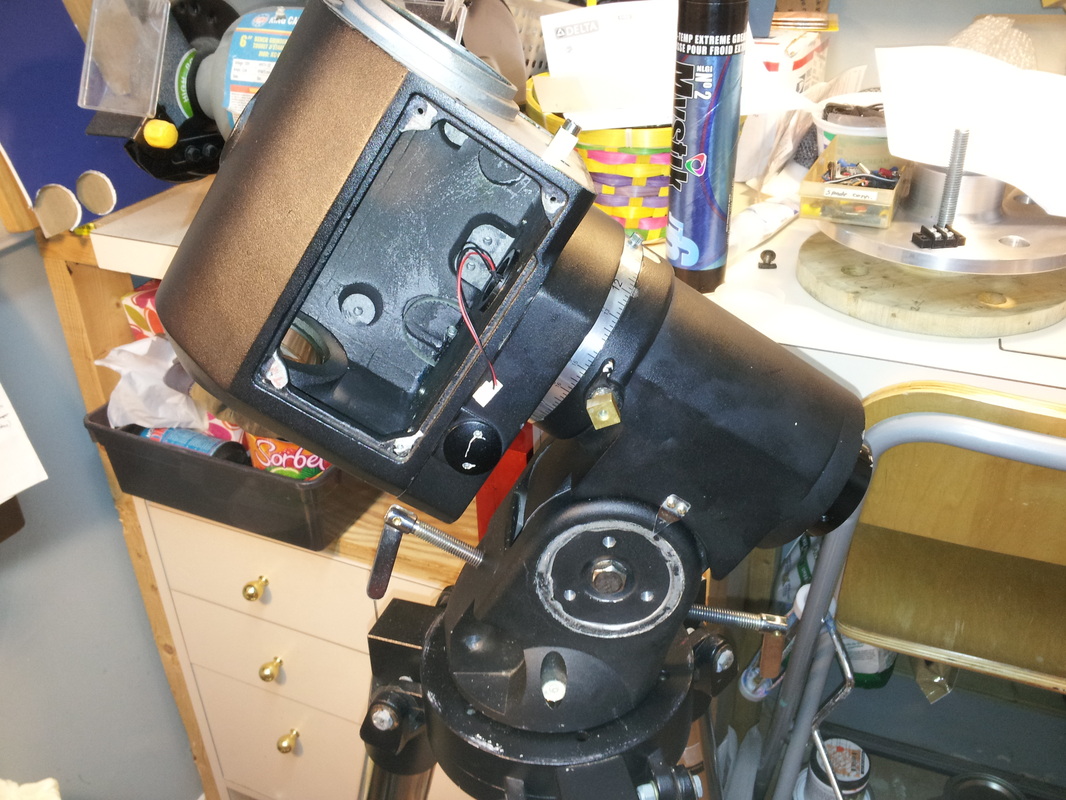
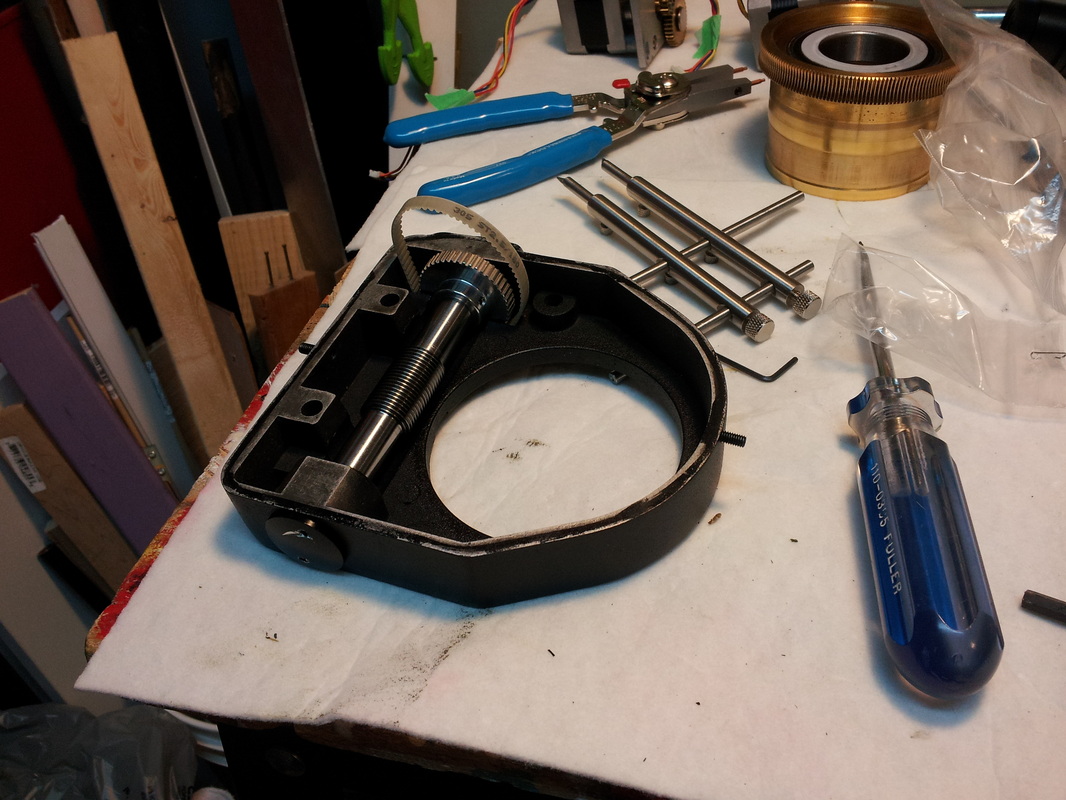
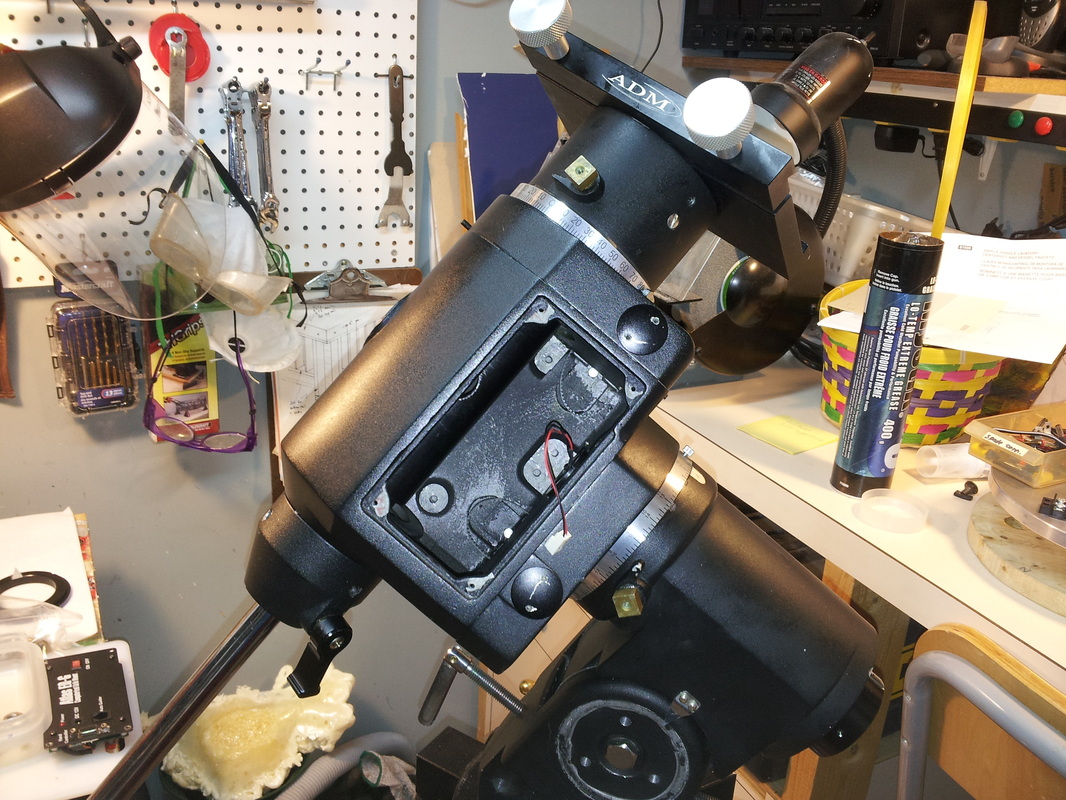
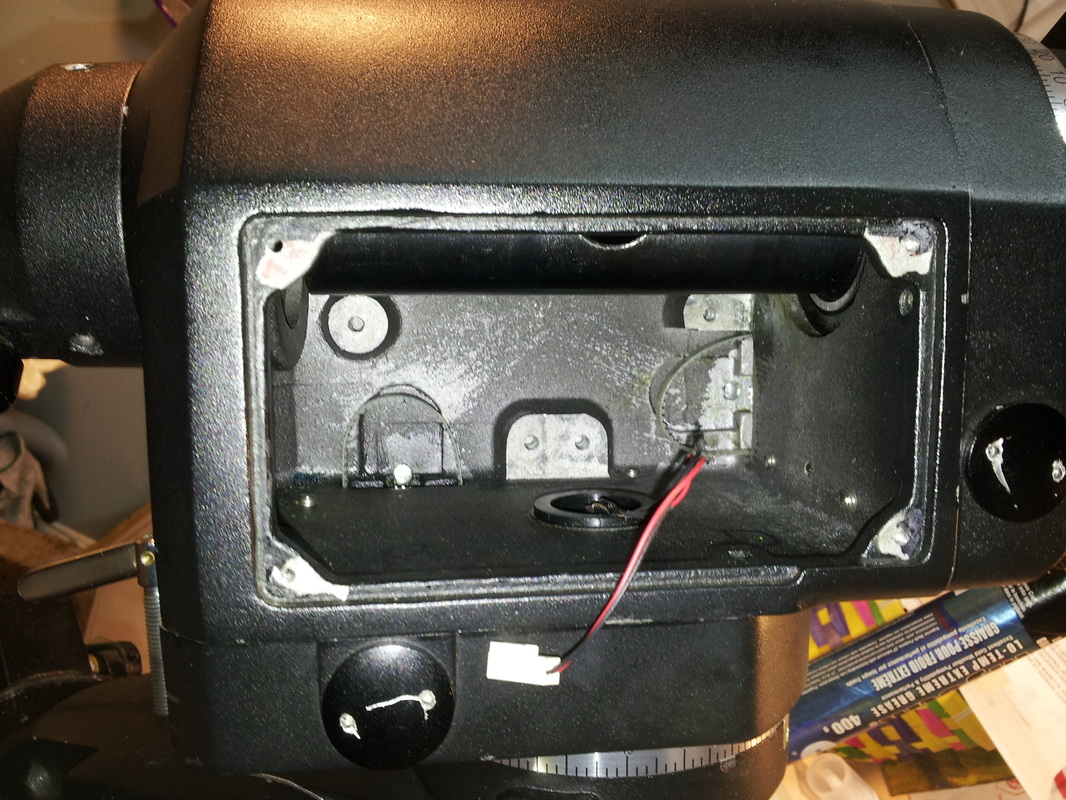
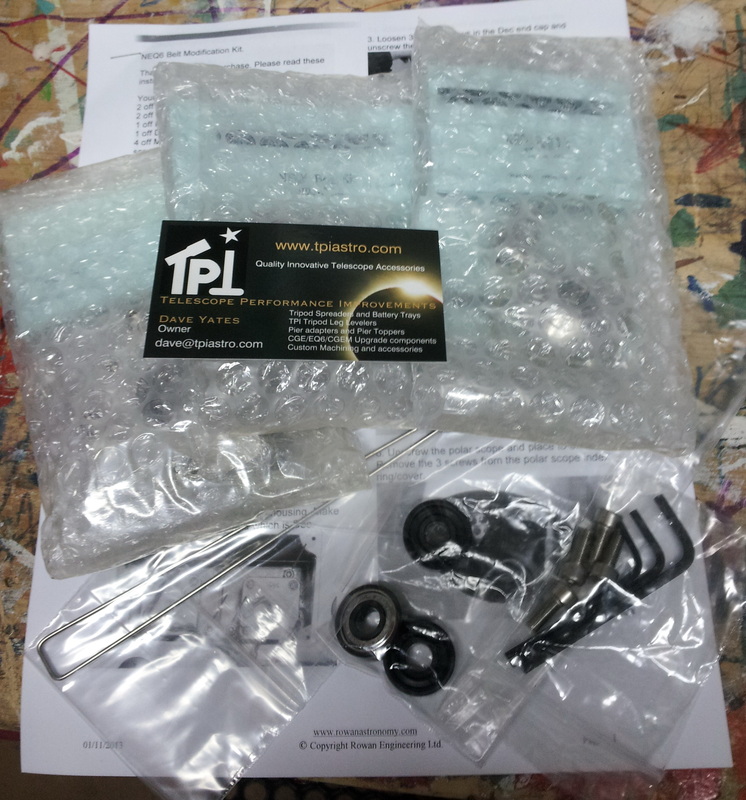
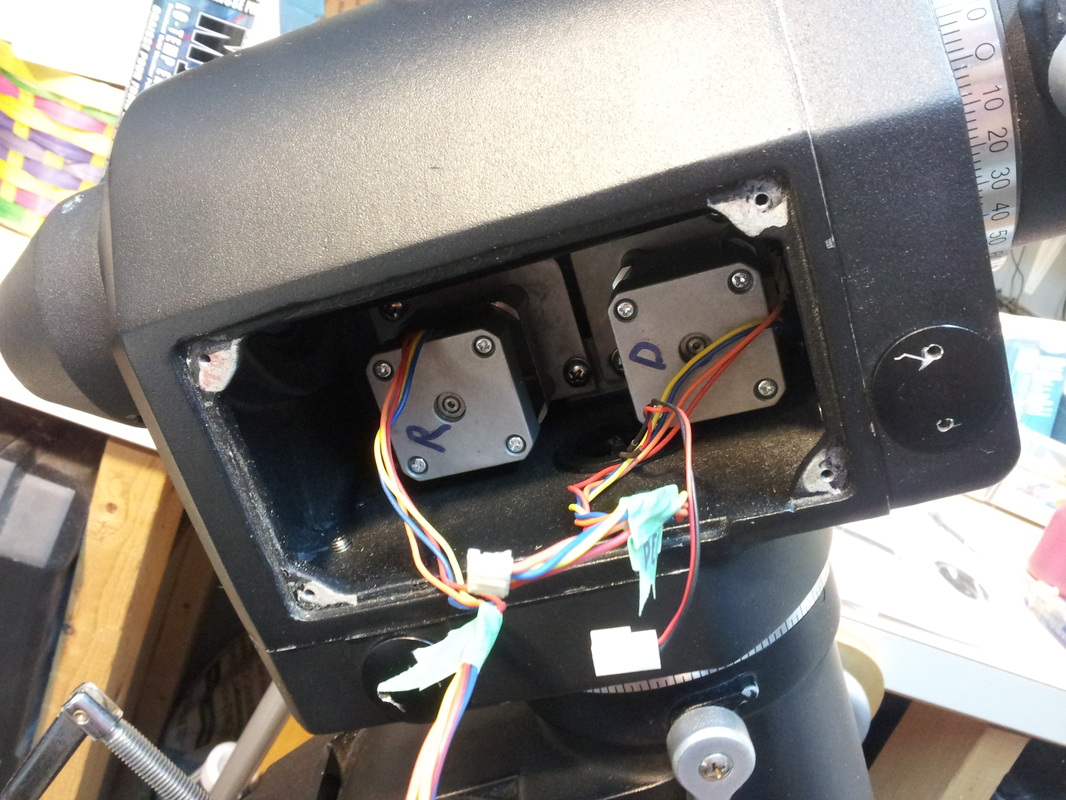
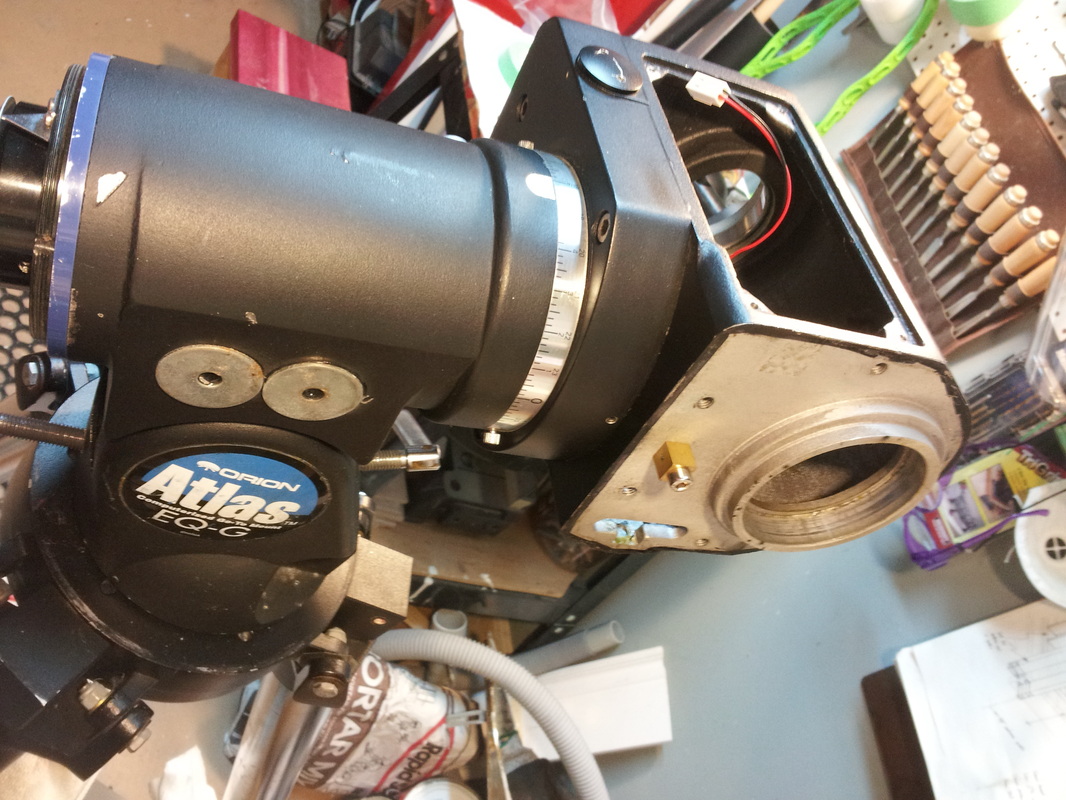
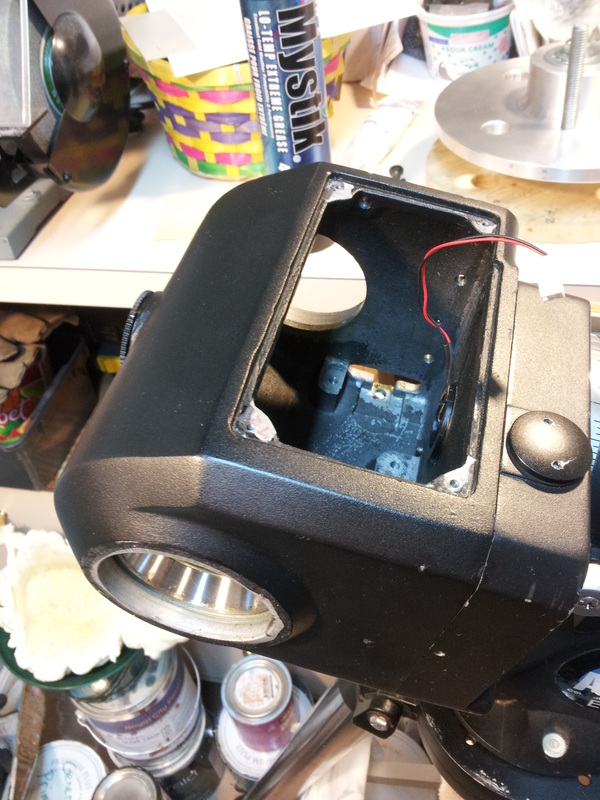
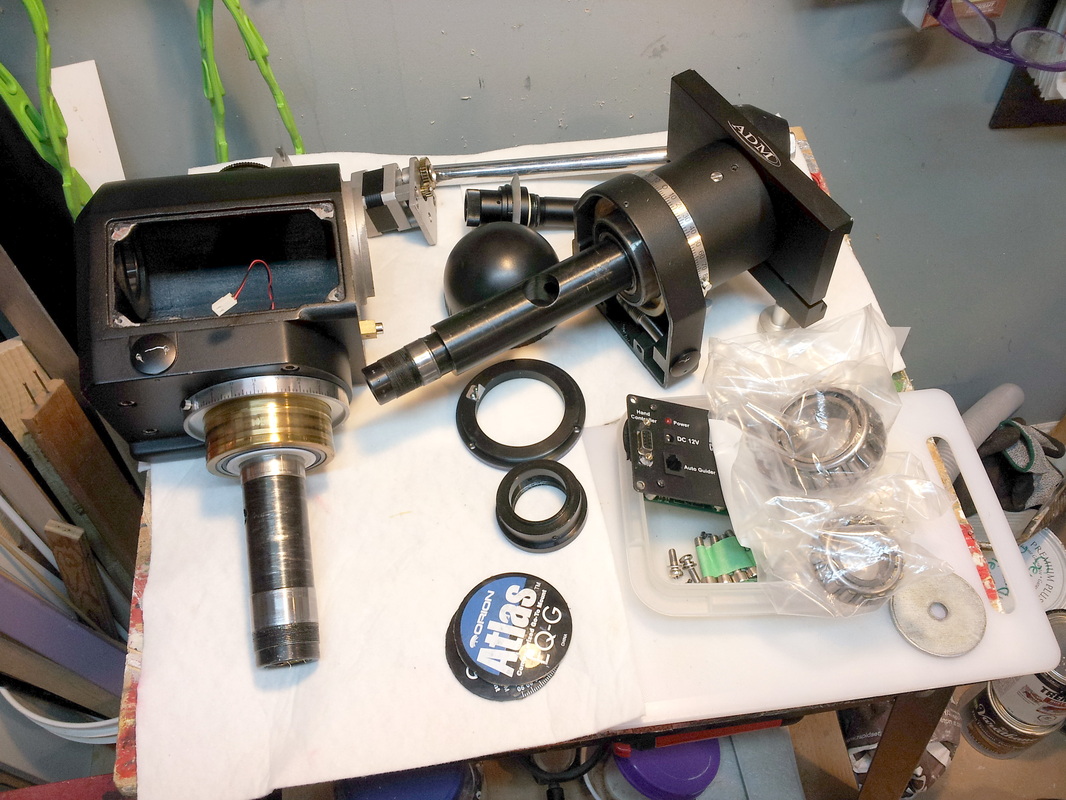
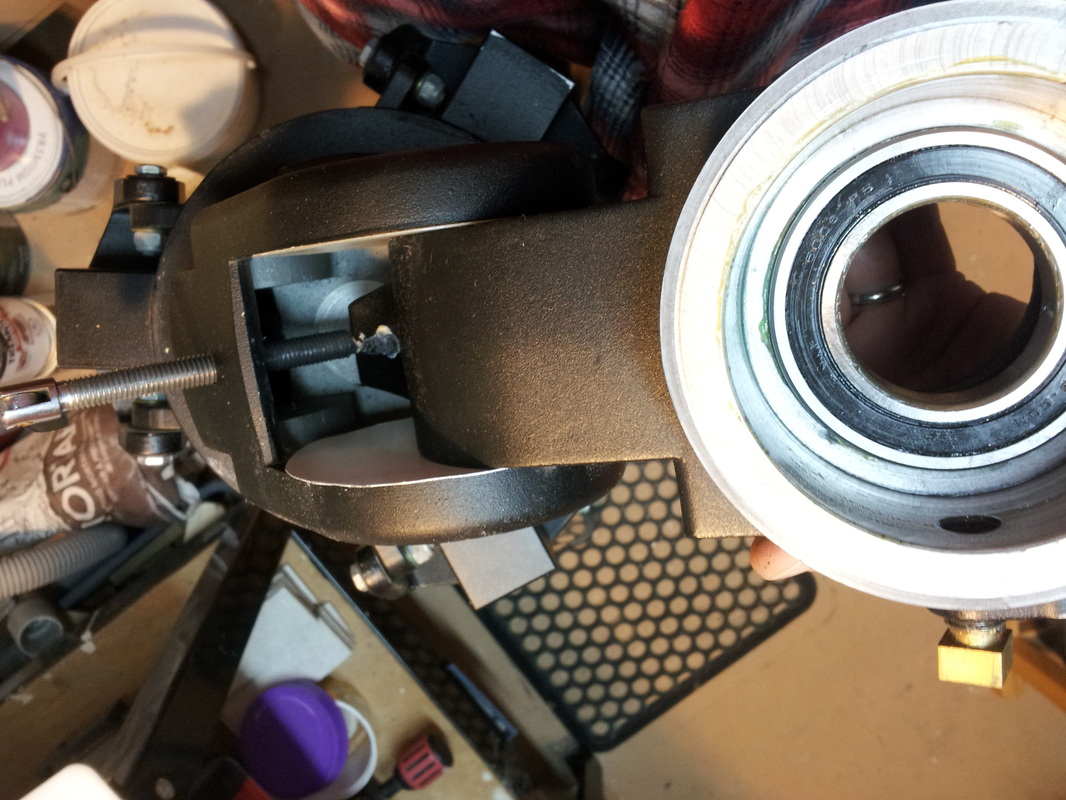
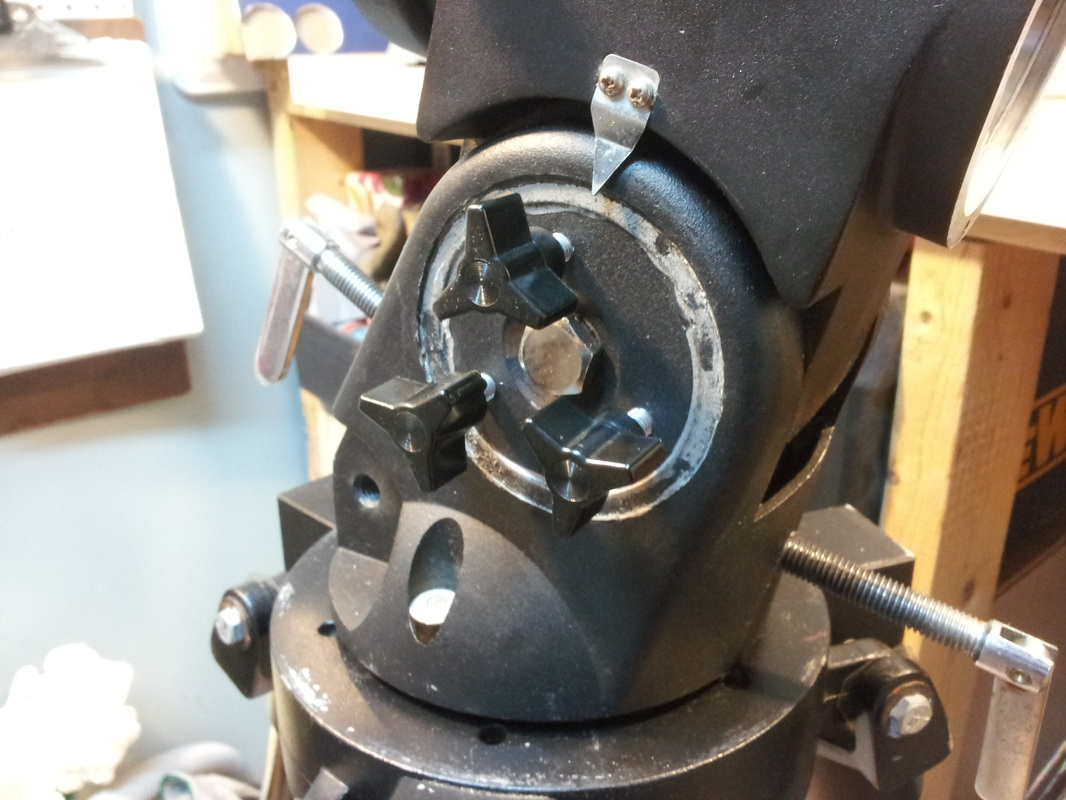
The rest of the mount re-assembly went well. It was a little finicky getting the screws in that hold the stepper motors in place, but once they were in it was easy to take up the belt tension and get them tightened down. I also took the opportunity to add an external screw terminal strip on the mount's face plate so that I can attach 12 VDC main power in a more secure way than the simply DC jack which has been notorious for loosing connection or simply pulling out. With everything re-assembled I was a little worried whether or not the mount would work smoothly. After adjusting the worm-to-helical gear meshing, I hooked power up and tried it out. Wow, it moves so smooth and buttery...and it purrs like a kitten! Excellent. I think it was a most productive exercise, putting in the belt conversion and giving the mount a tune-up. Fortunately the rain held off Sunday afternoon and I was able to get the mount onto the pier. Oh yeah. So far the belt conversion and subsequent re-assembly has been pretty straight forward. The printed instructions that came with my belt conversion kit are well written and easy to follow. In about 1.5 hrs I was able to make the belt conversion on the worm gears, and re-grease/re-assemble both the DEC and RA axes. Now I just have to complete the belt conversion on the stepper motors and finish the re-assembly. Coincidentally I am glad I took the opportunity to clean and re-grease all the main bearings. Most were dry or had metal filing infused grease on them, so a cleaning and some fresh grease was due. Movement in both axes is now much smoother. I purchased my Orion Atlas mount used, and I have no idea how many miles were put on it before I got it. The mount was apparently recently hyper-tuned, and for the most part it has been very reliable. I do treat the mount pretty rough; leaving it outside all year, transporting it to the cottage or other observation sites without a case, etc. It was not really until I put my 40lb 10" VRC scope on the mount that I started to see issues with its performance. A number of areas in the mount showed a lot of slop that affects my tracking. Clearly it is due for a major servicing. With my pier pretty much ready to go (and the weather being terrible), I figured it was a good opportunity to overhaul my mount before installing it in its permanent new home. In the spring I purchased a belt drive conversion kit from TPI Astro when I was at AstroCATS. My plan is to give the mount a general servicing while I install the conversion. The first step was accomplished on Sunday in about 1.5 hrs: disassemble the mount. One area that I found curiously sloppy is the joint between the mount base and the RA housing. The previous owner, when they had the mount hyper tuned, had three tensioning hand nuts installed through the plastic "Atlas" cap. These three nuts are supposedly for pushing on a steel washing that is on the RA housing and lock it in place. Well, it doesn't work very well. Over time my mount's latitude setting droops under the weight of the mount and scope. Not only that, there is about 0.5 to 1mm of play in the joint side-to-side that allows the whole thing to rock. I pulled it all apart to look at what could be done to lock this joint better once the latitude adjustment is set. Low and behold there is a bolt hiding under the plastic caps that already passes through the joint with a thread on one side of the mount base. I simply added a shim to take up the 0.5mm slop (there was one shim already on one side, I added another), then tightened this existing bolt. With very little torque on the bolt the joint locks up solid...awesome! My plan is to drill a hole in the plastic cap so this bolt is accessible all the time. Why it isn't already readily accessible is beyond me! I have had my eyes open for a while, looking for a good place to simply purchase a pre-made adapter plate that will allow me to attach my Atlas mount to the top of my pier. What I have found is either expensive or not really suited to my application. So I made up a wooden prototype and brought it into my work. We have a metal fabrication shop. Fortunately they had enough scrap aluminum plate and bar laying around to manufacture the adapter plate according to my wooden prototype. I think it turned out nice, and even better it didn't cost me a dime! 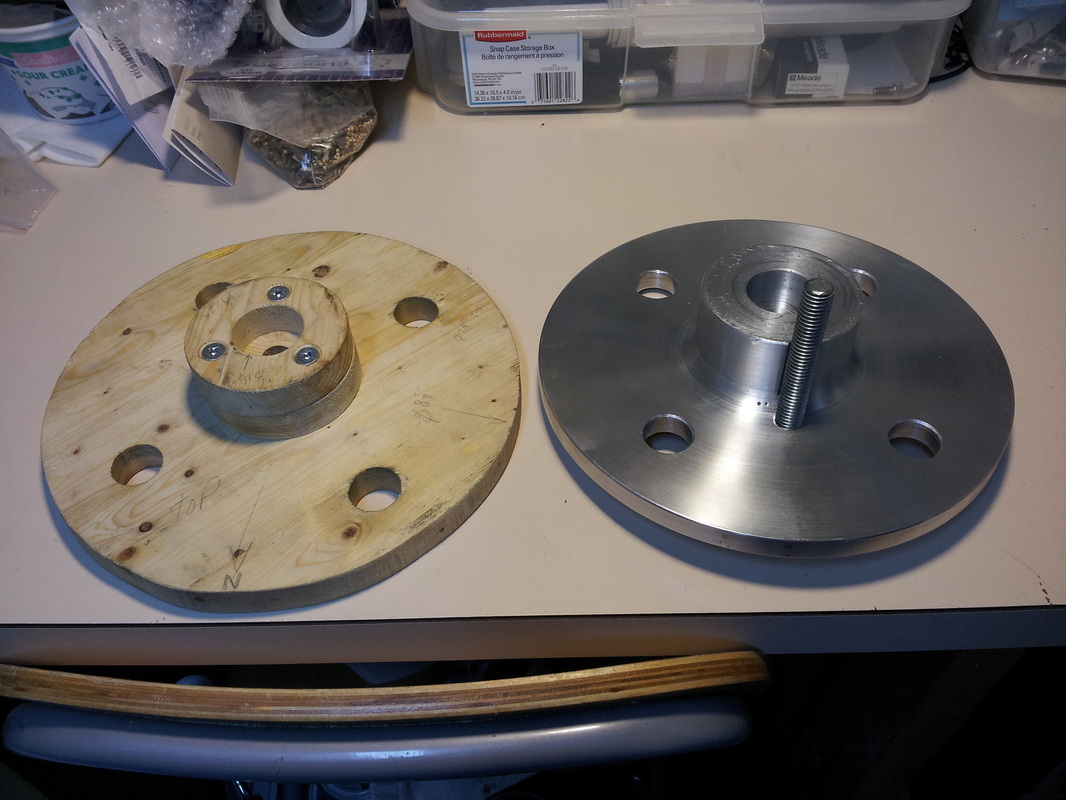
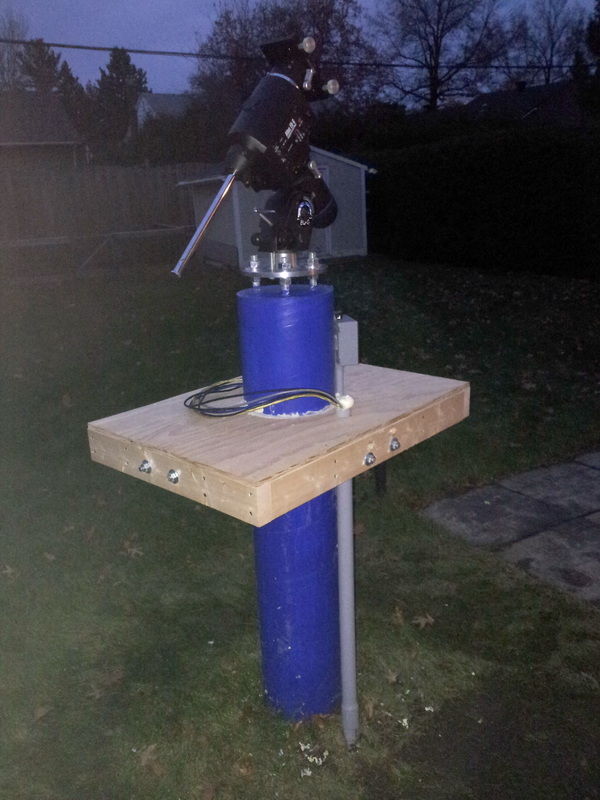
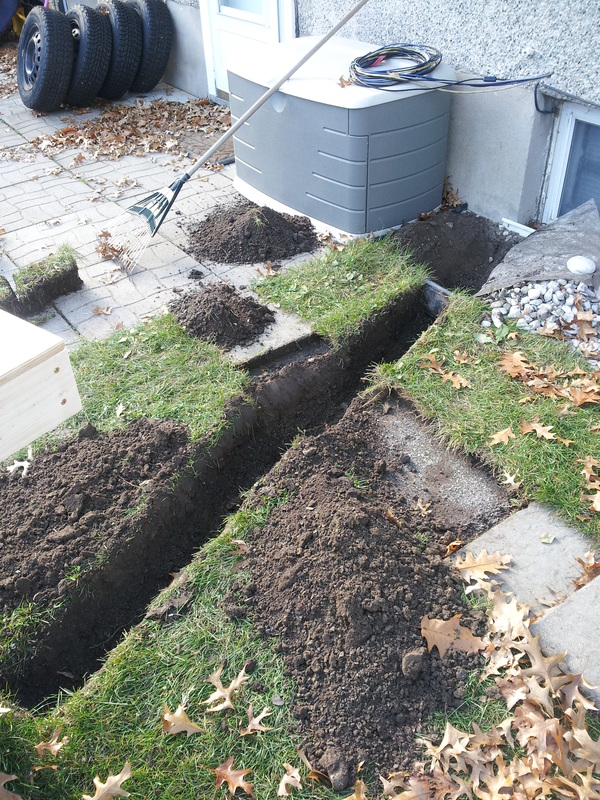
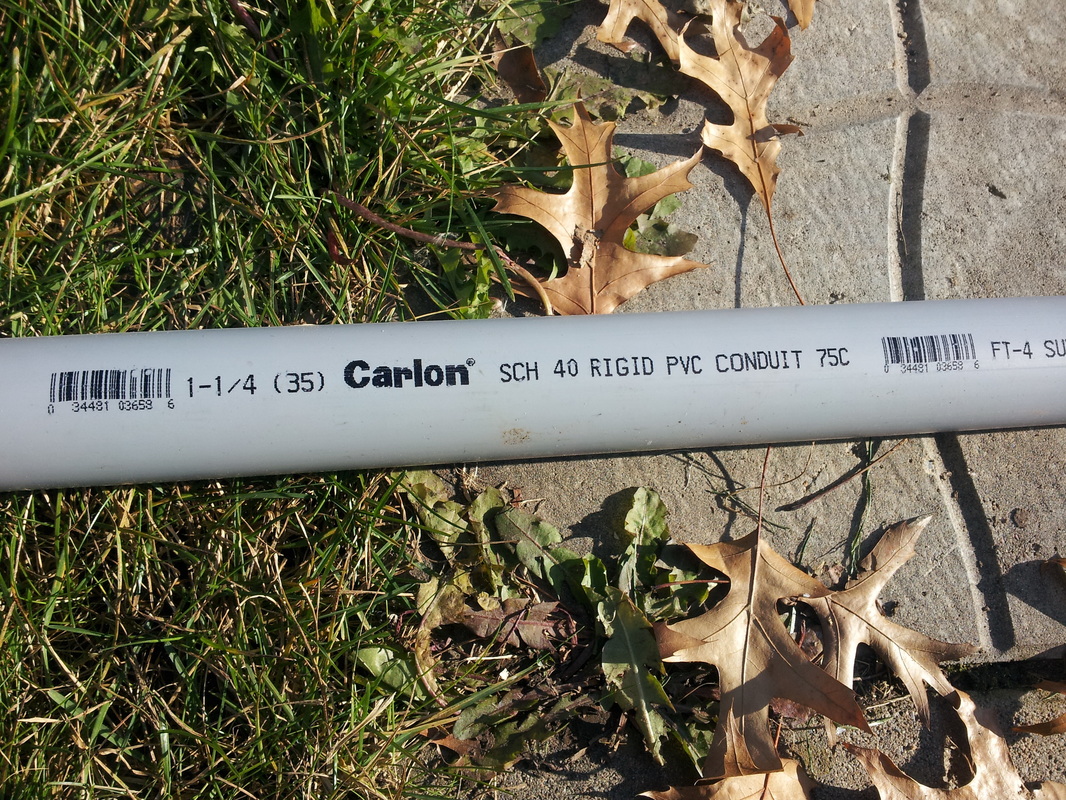
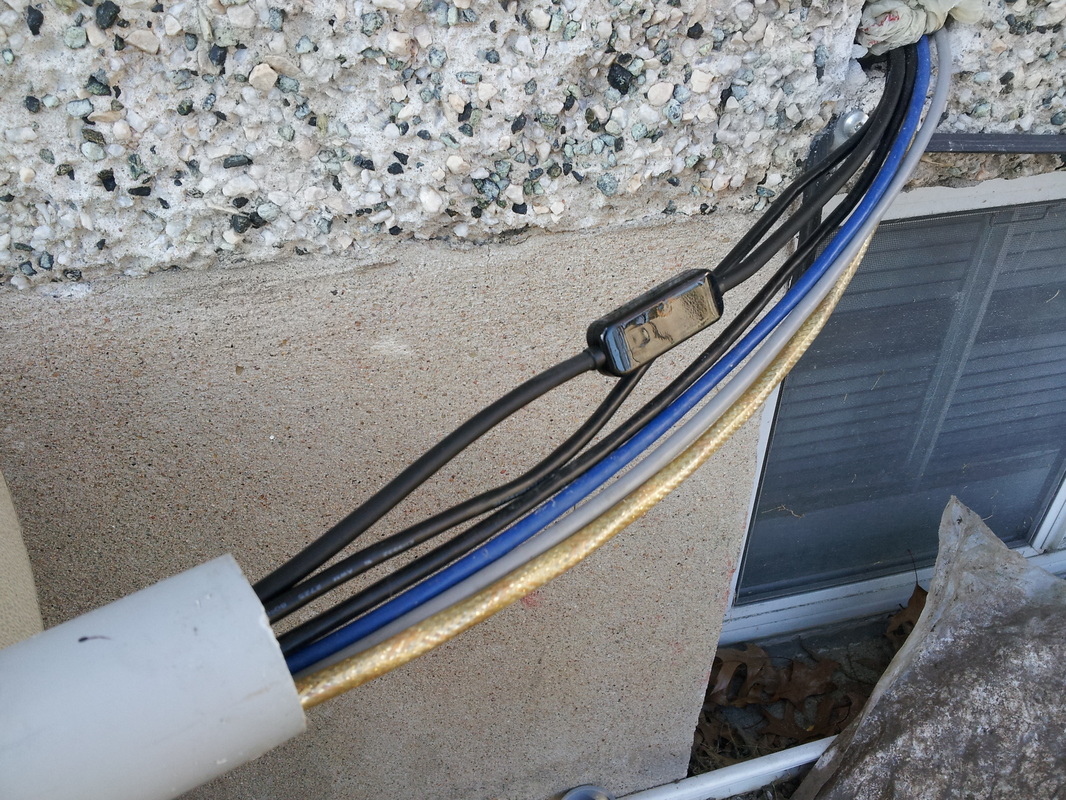
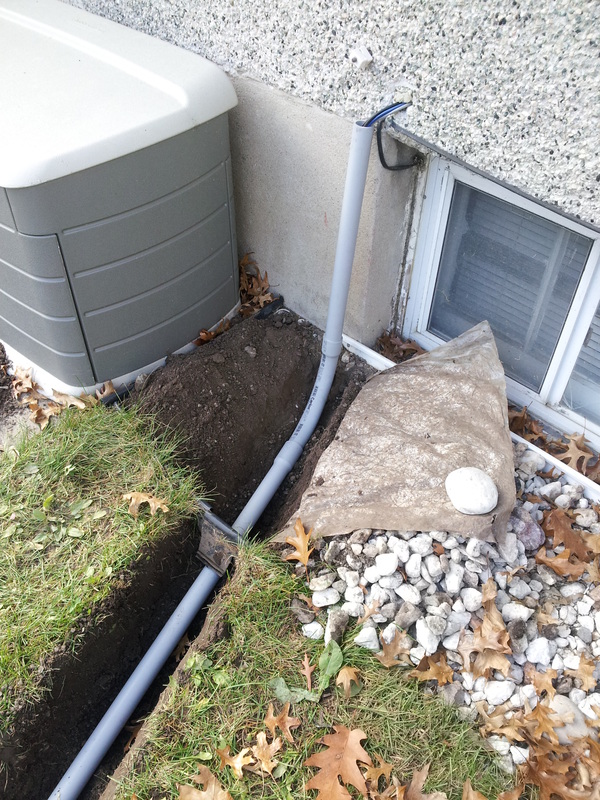
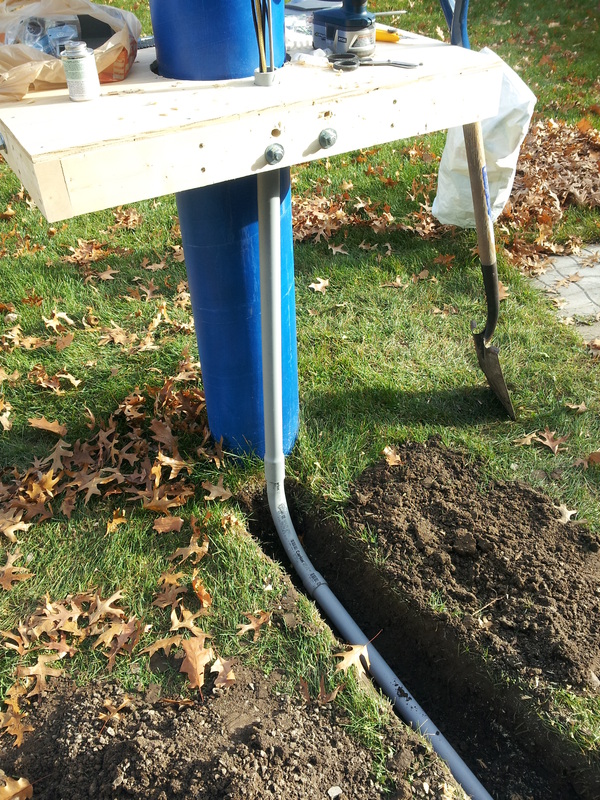
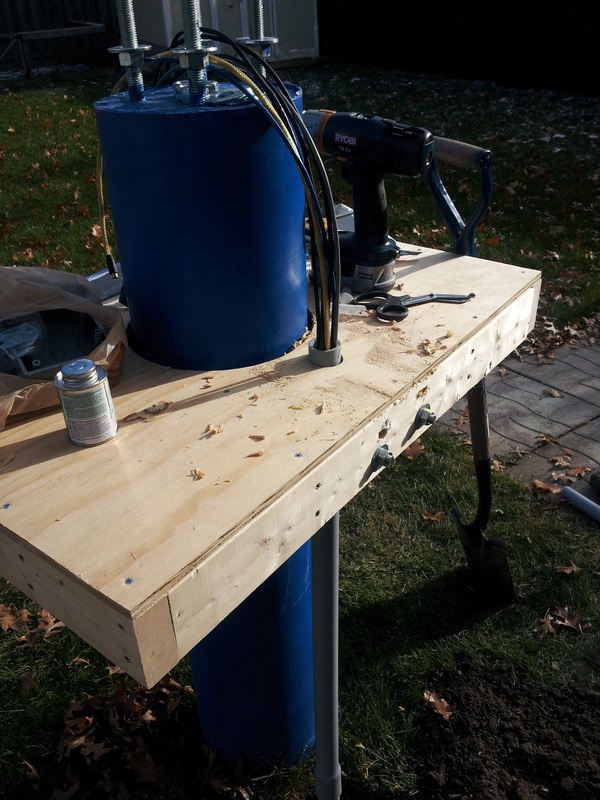
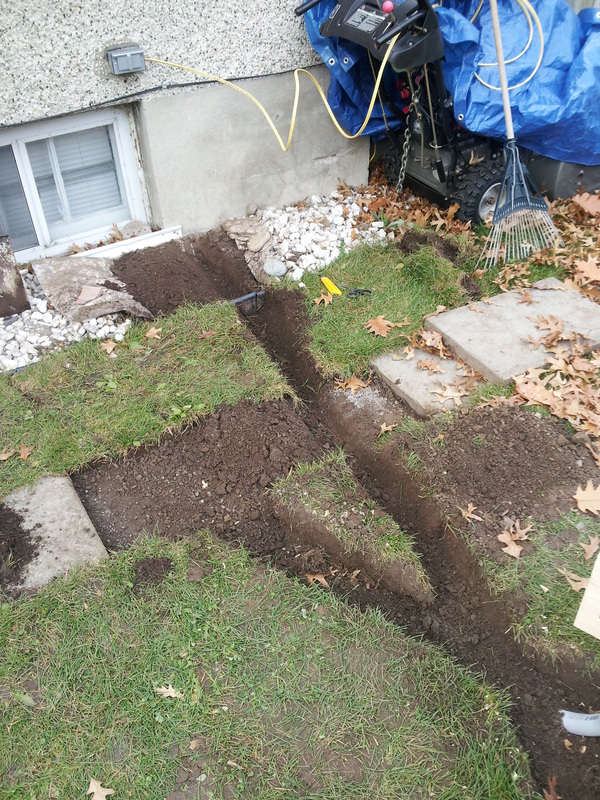
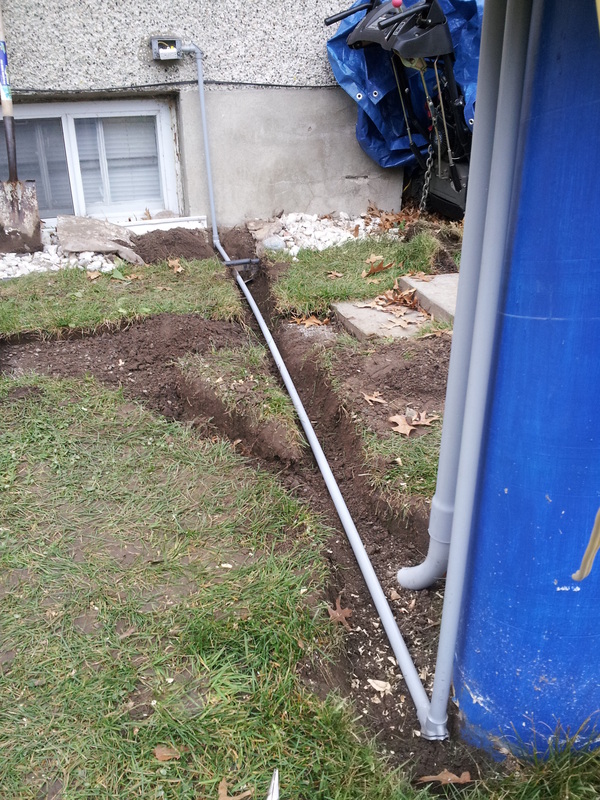
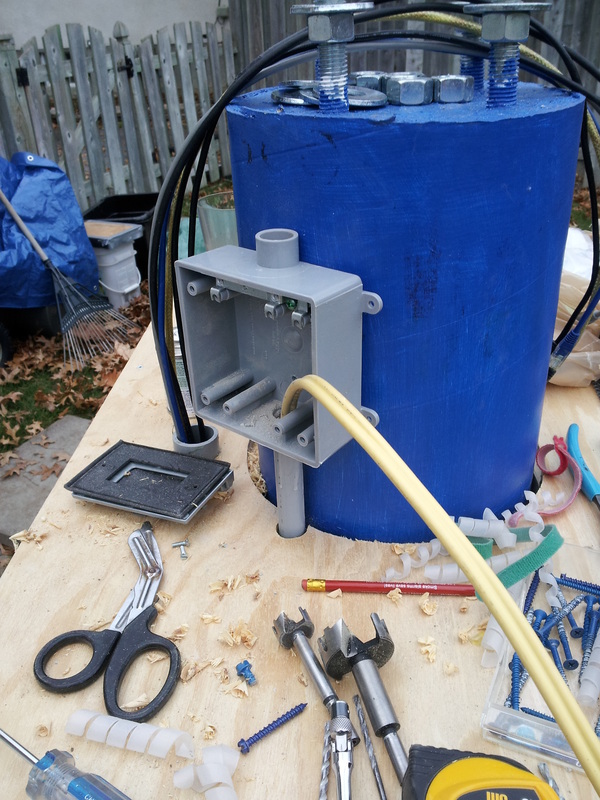
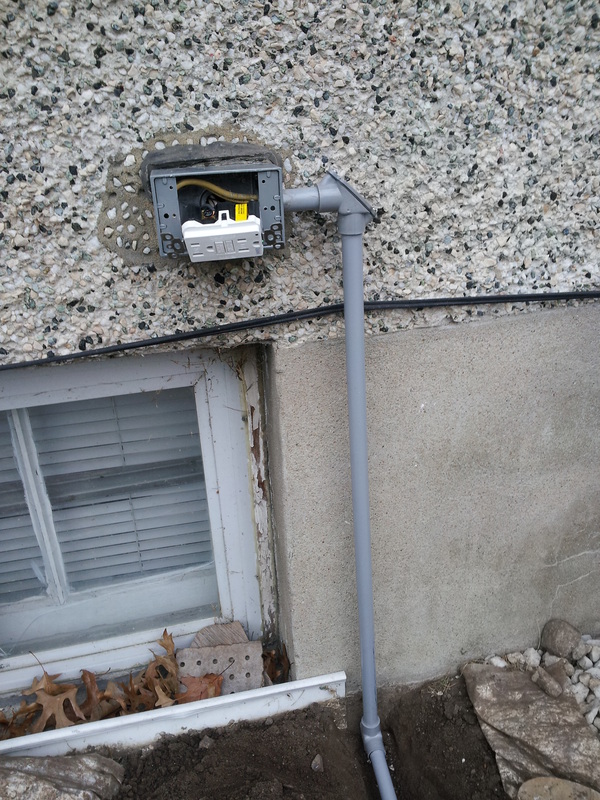
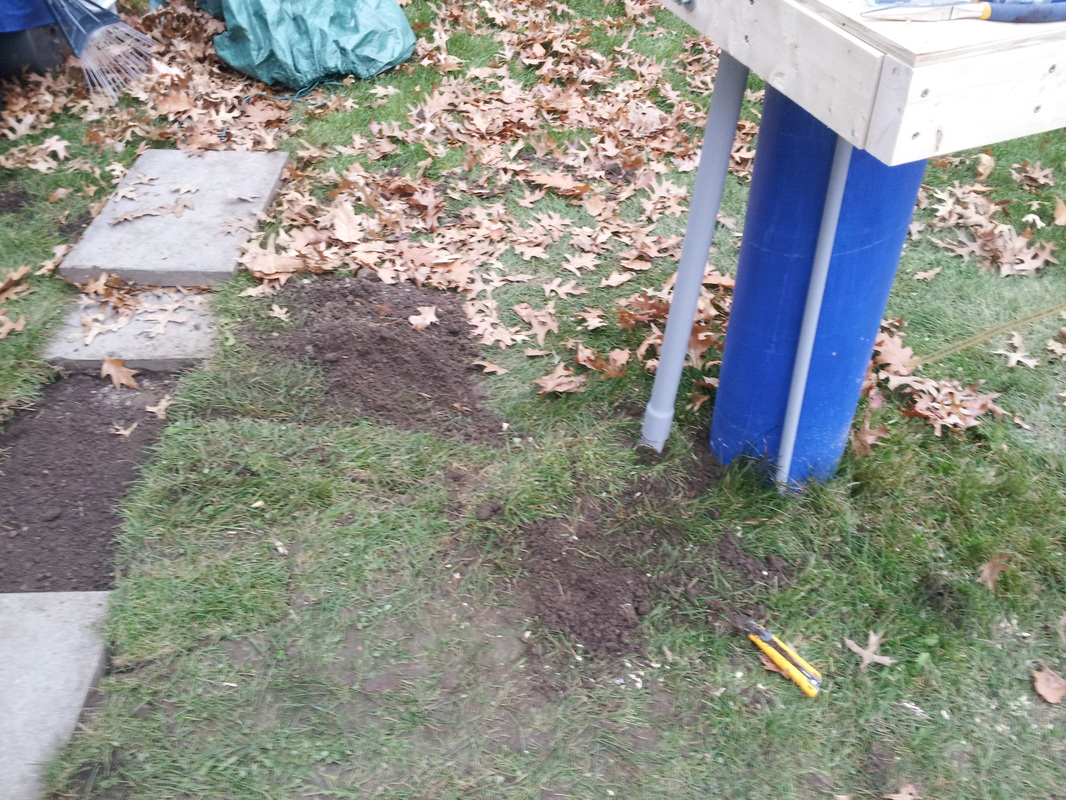
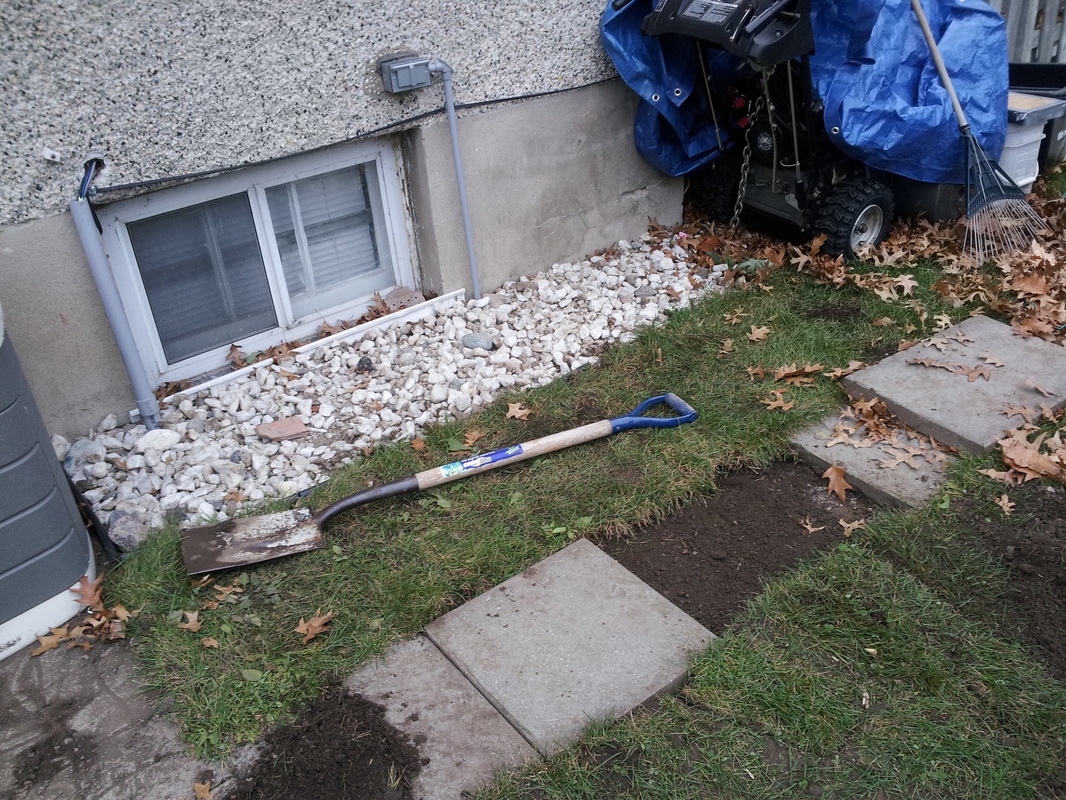
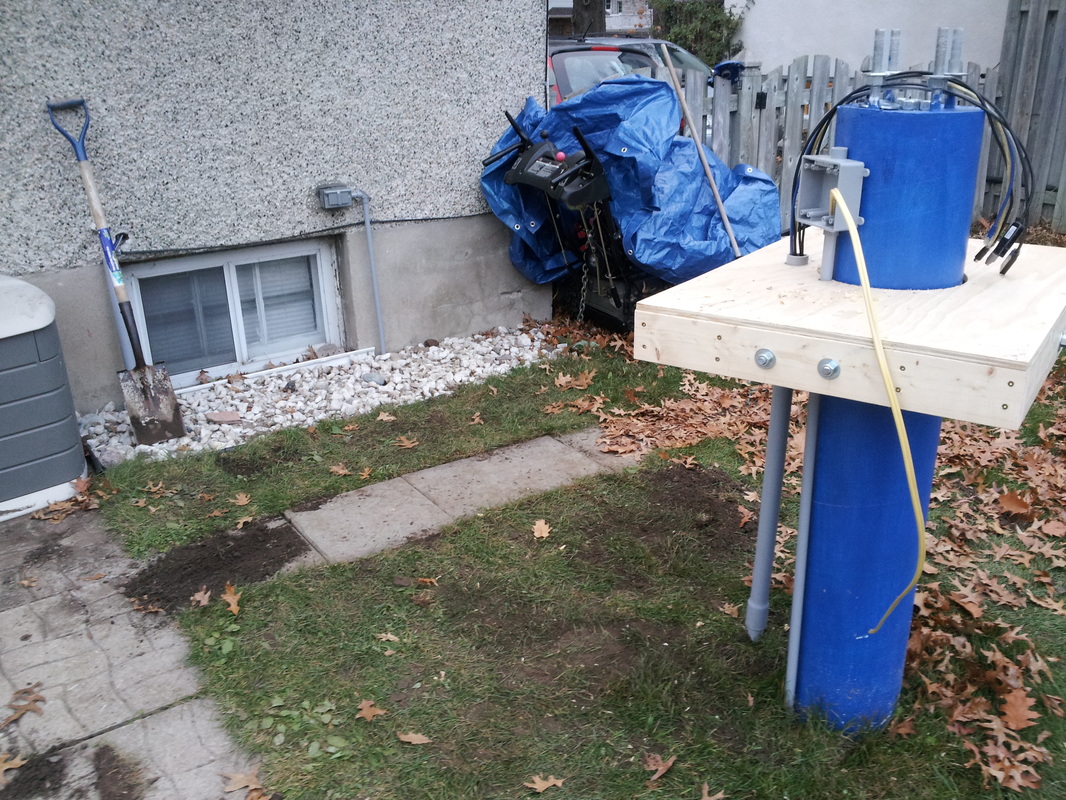
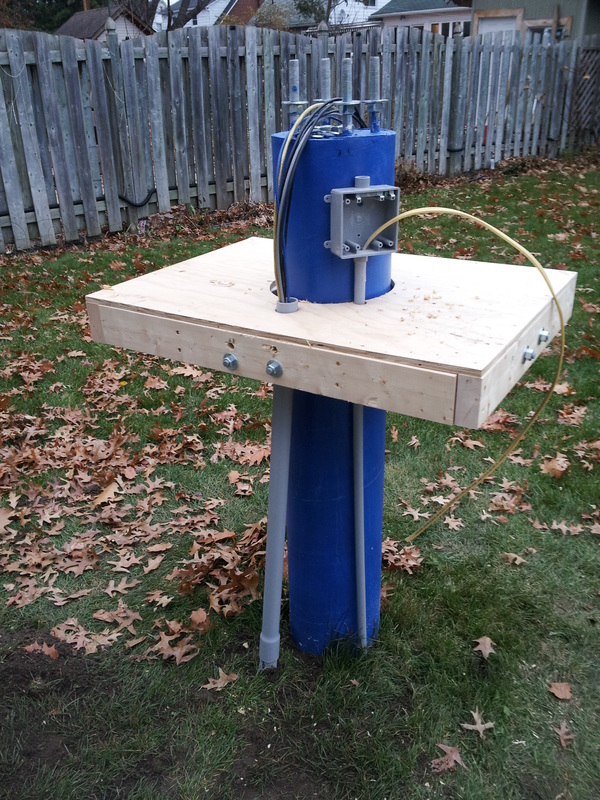
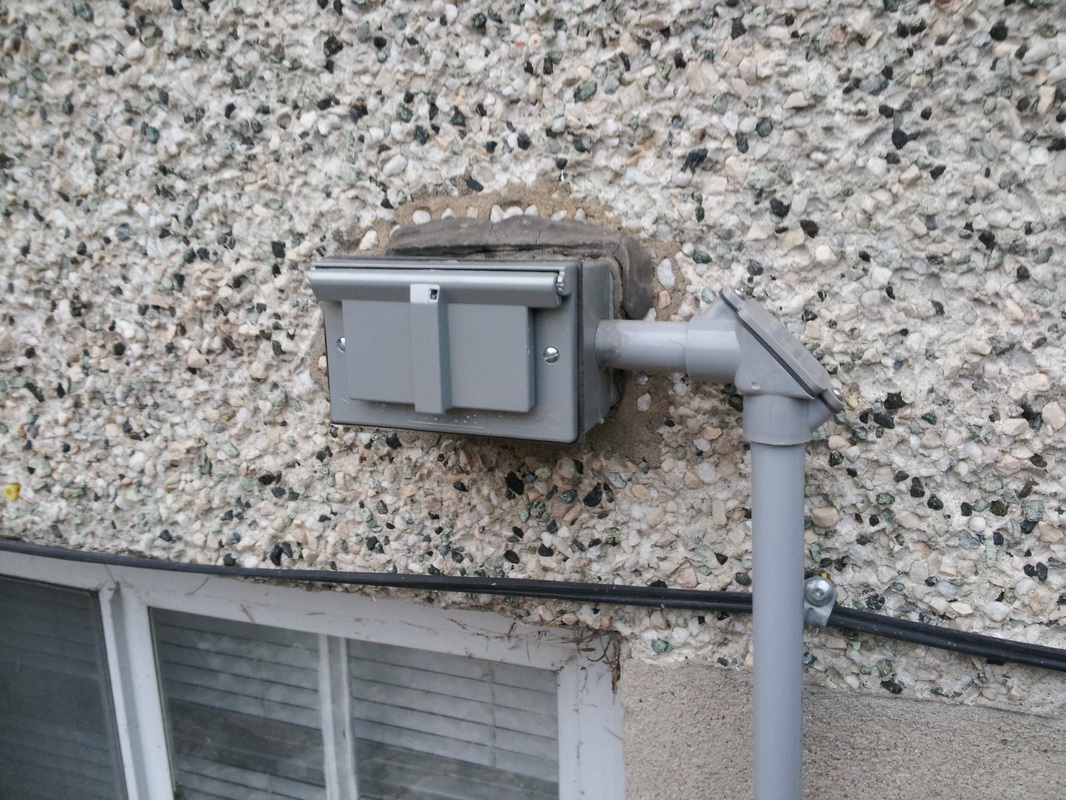
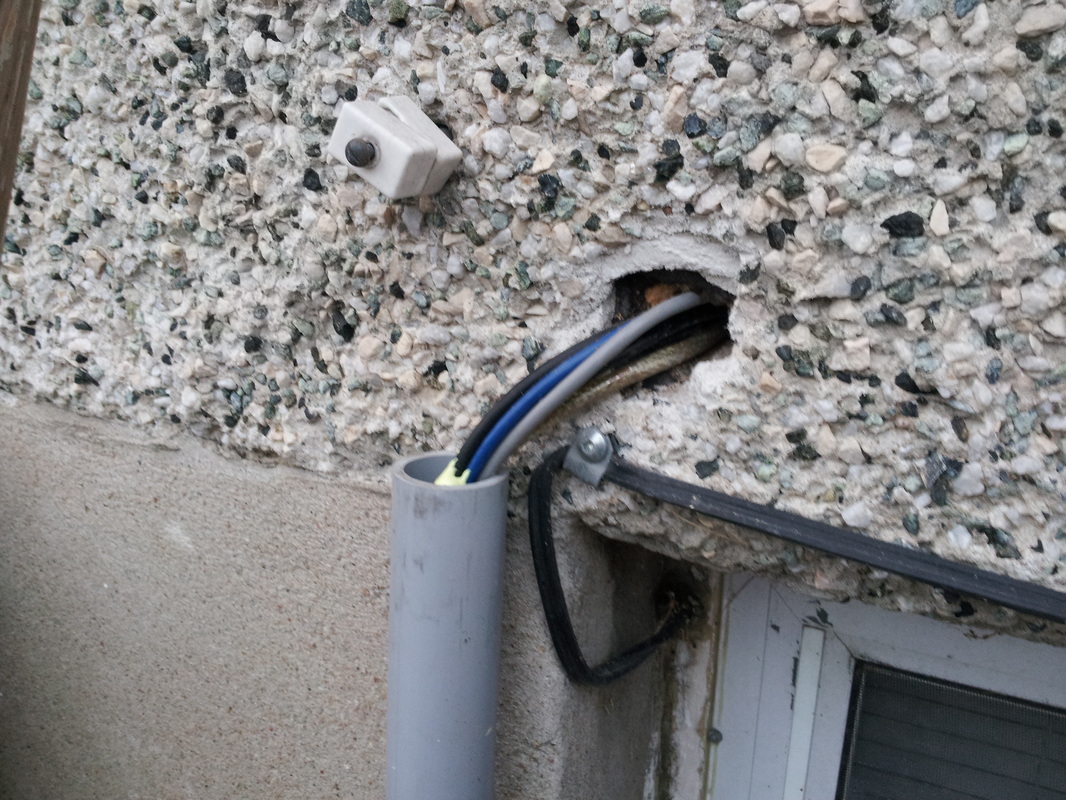
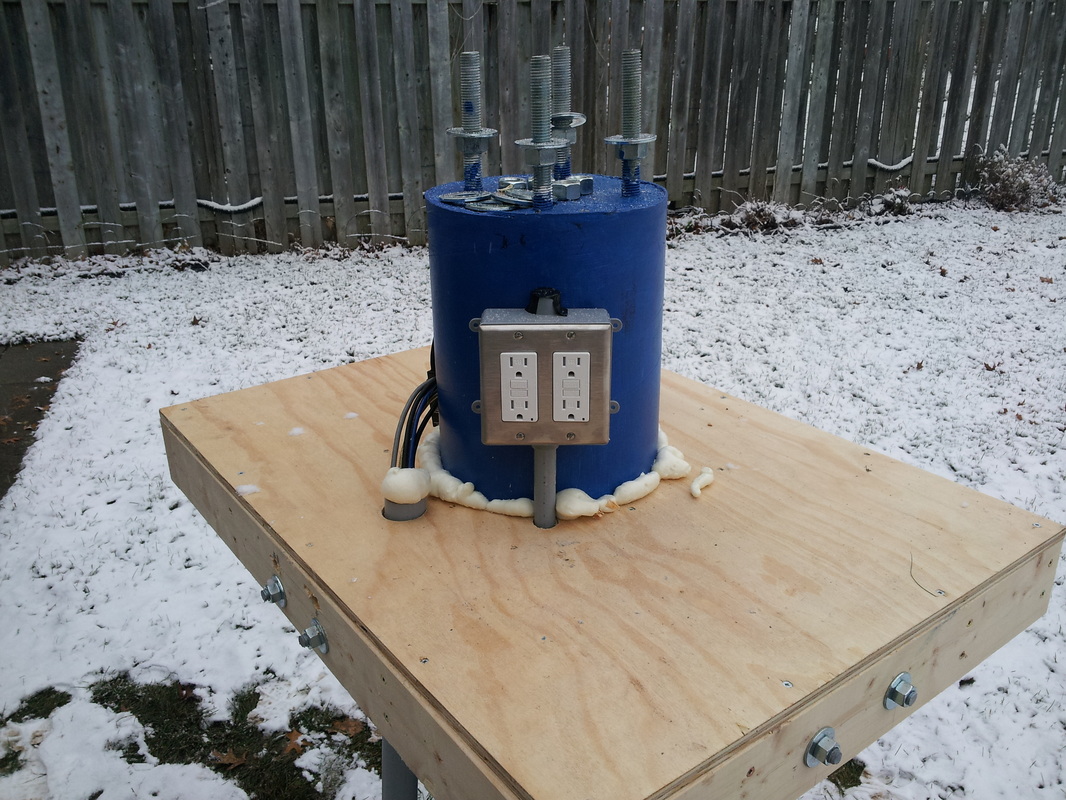
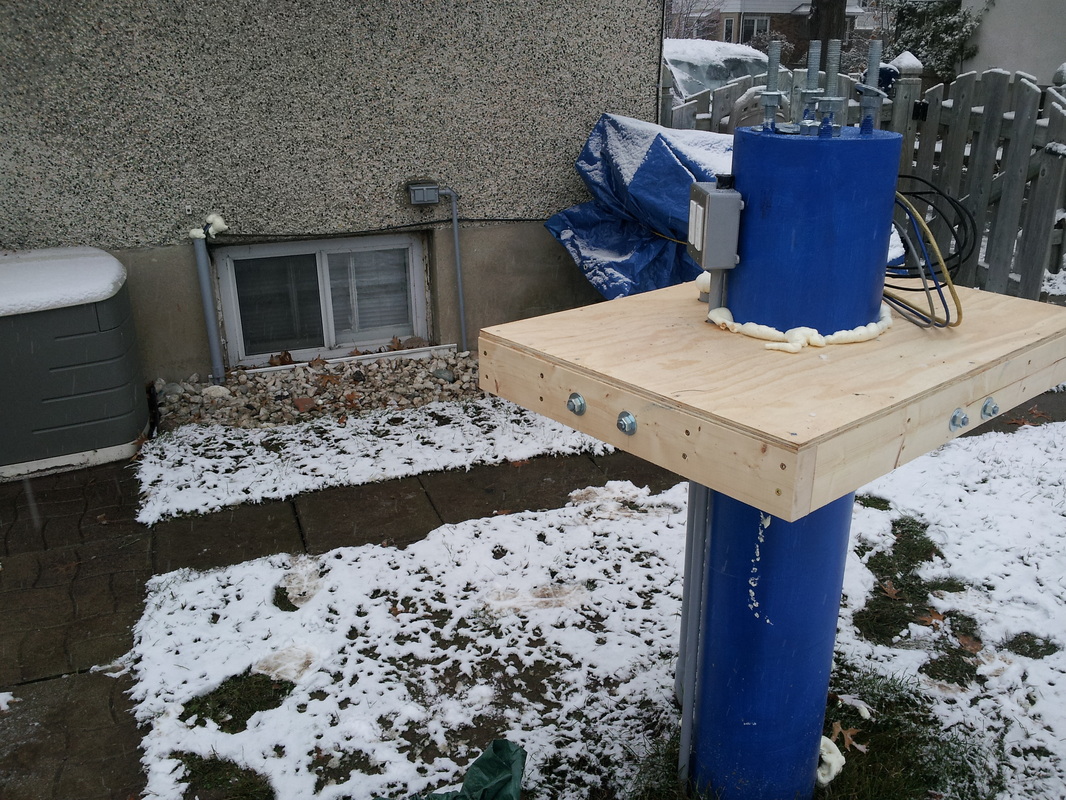
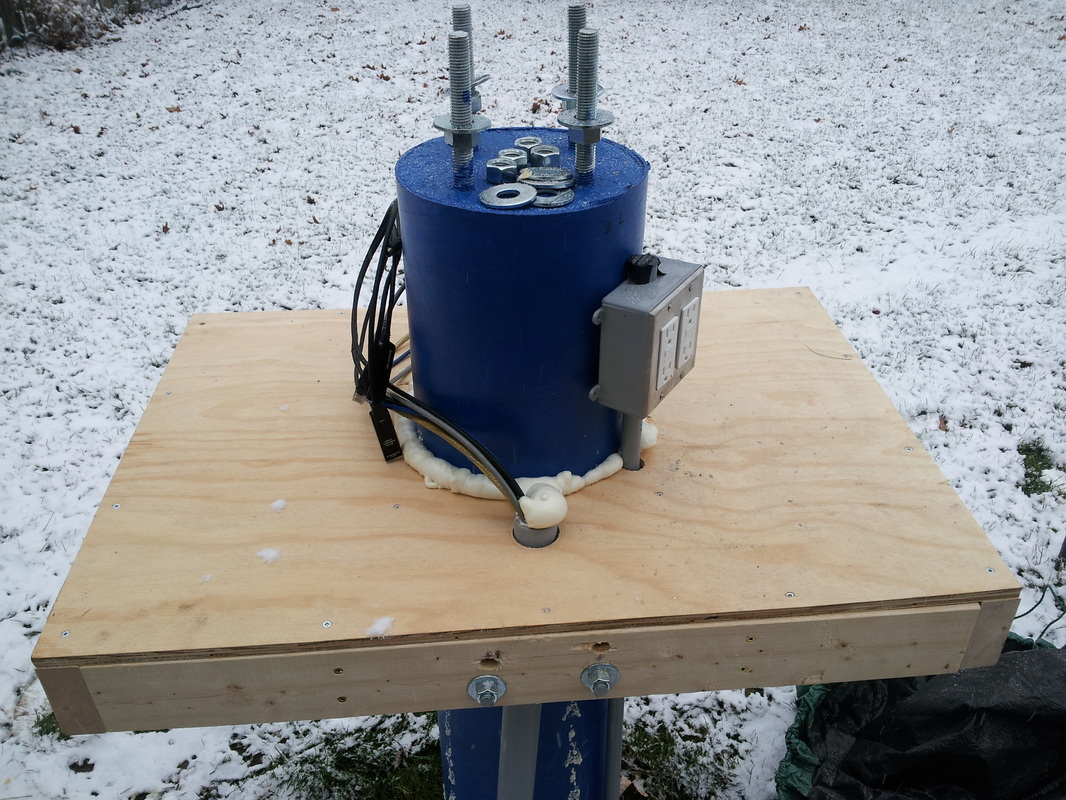
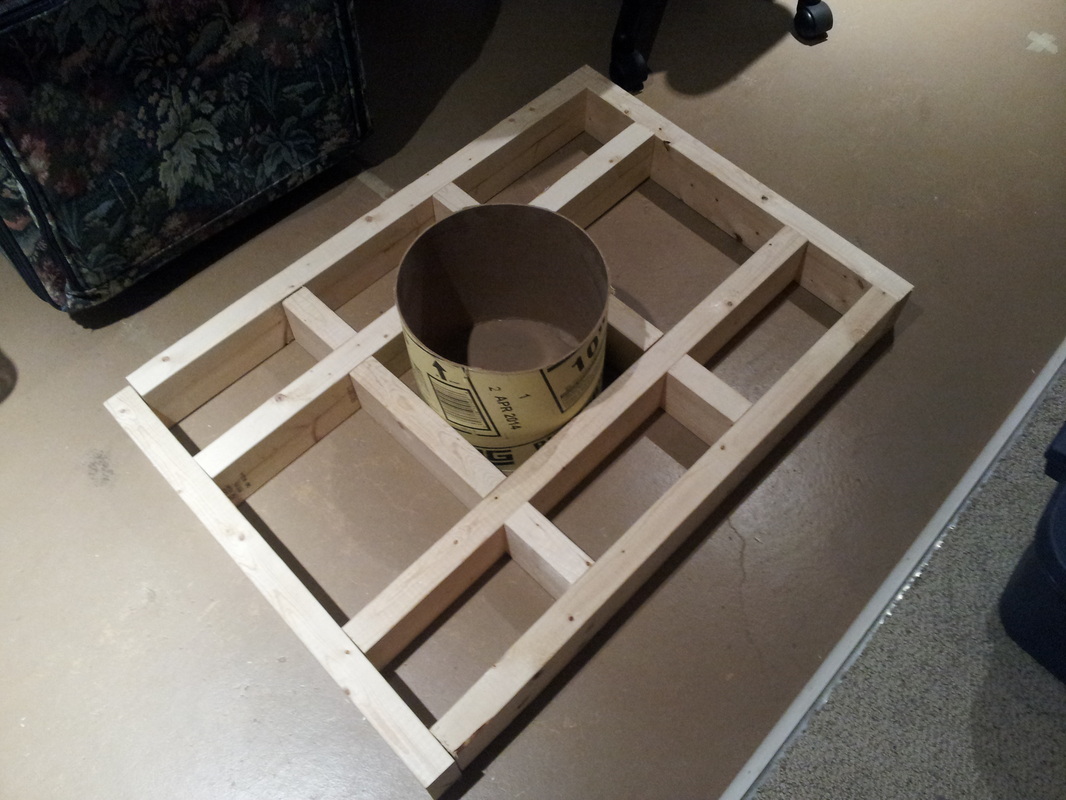
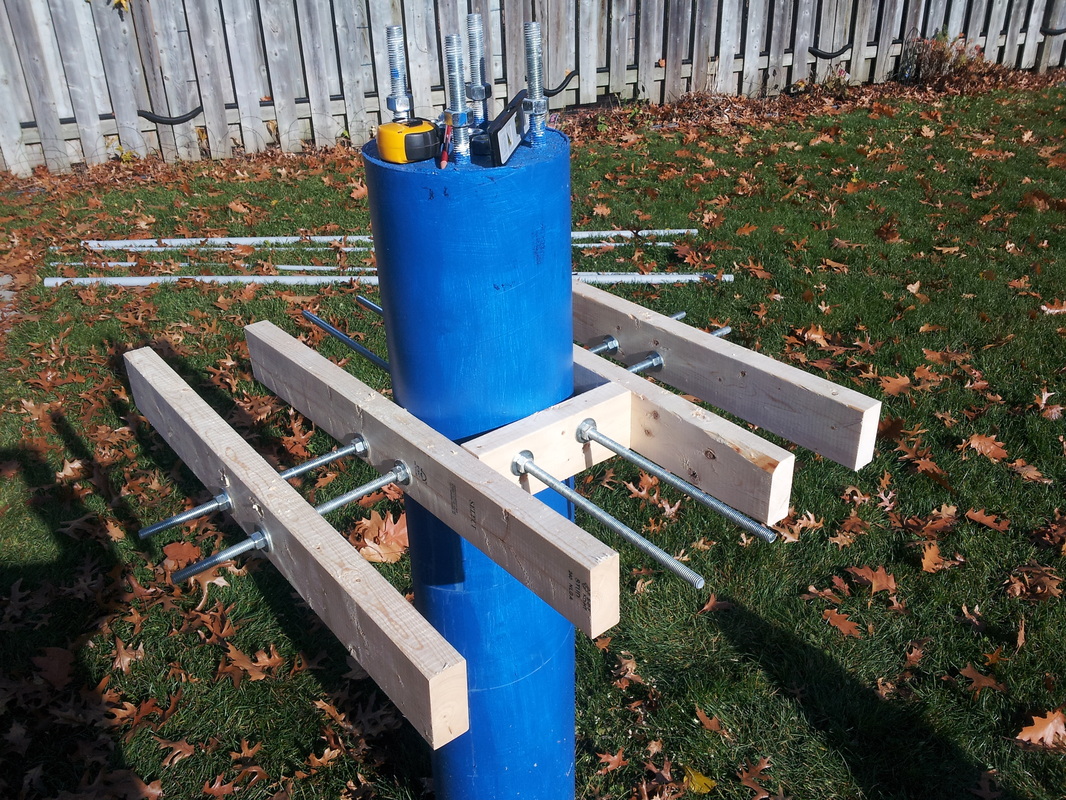
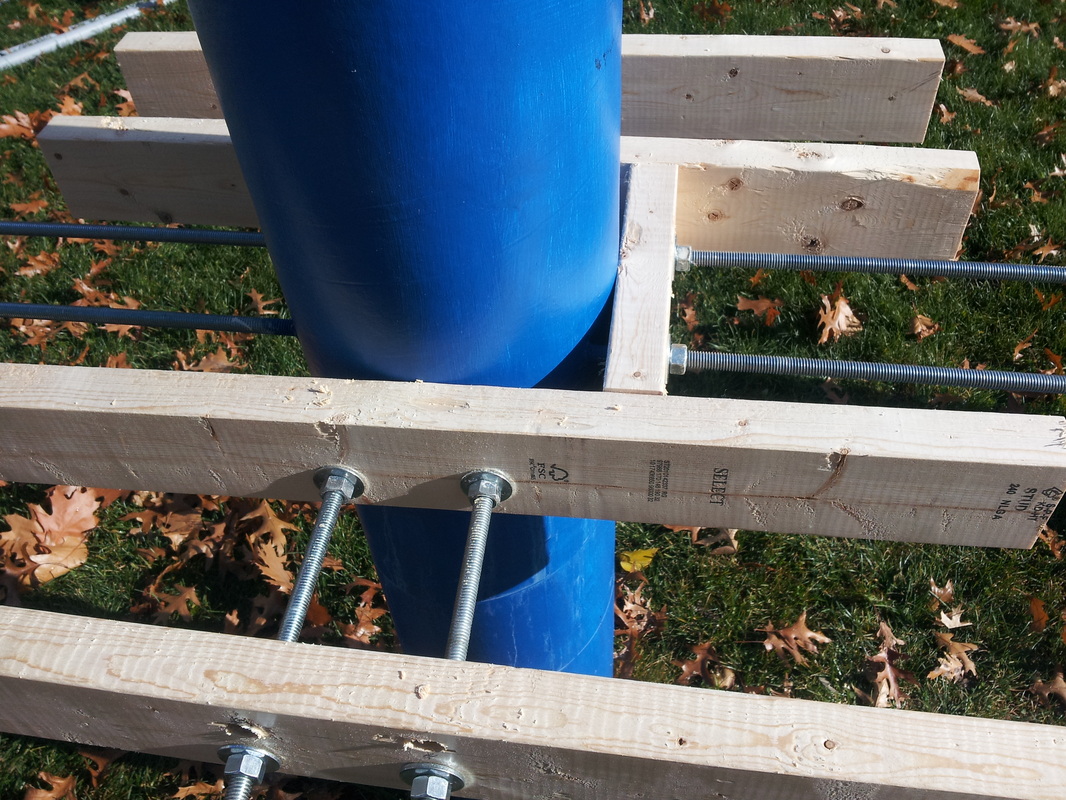
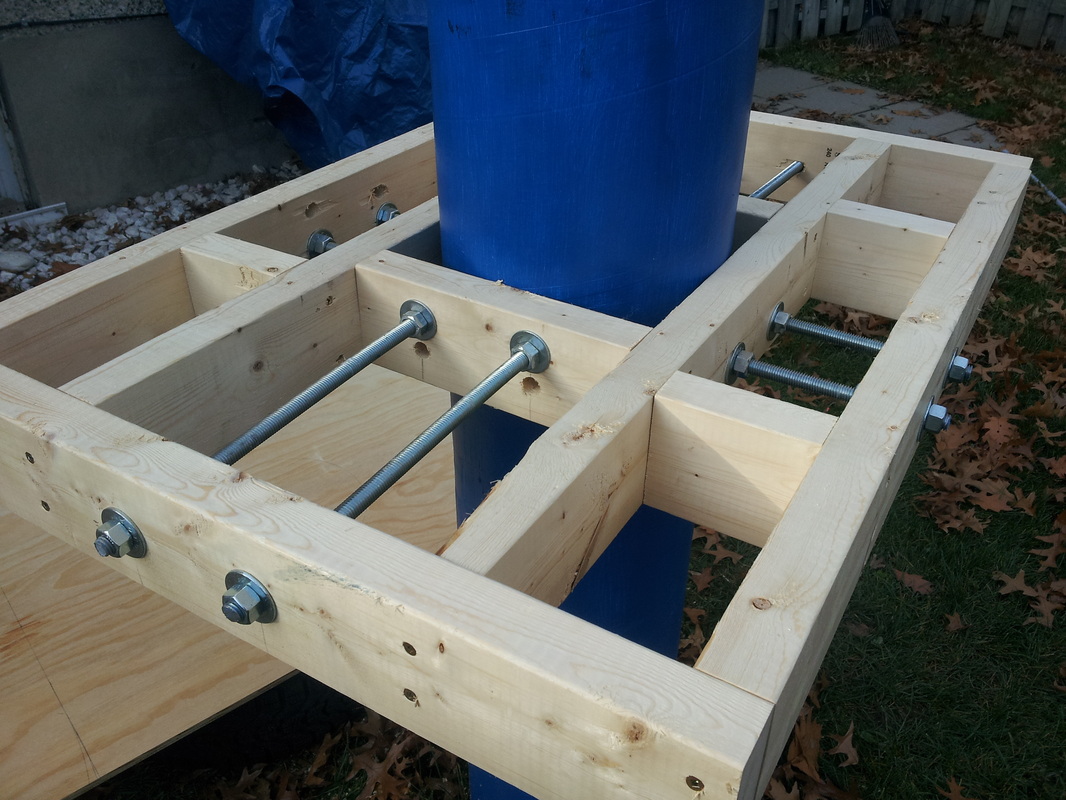
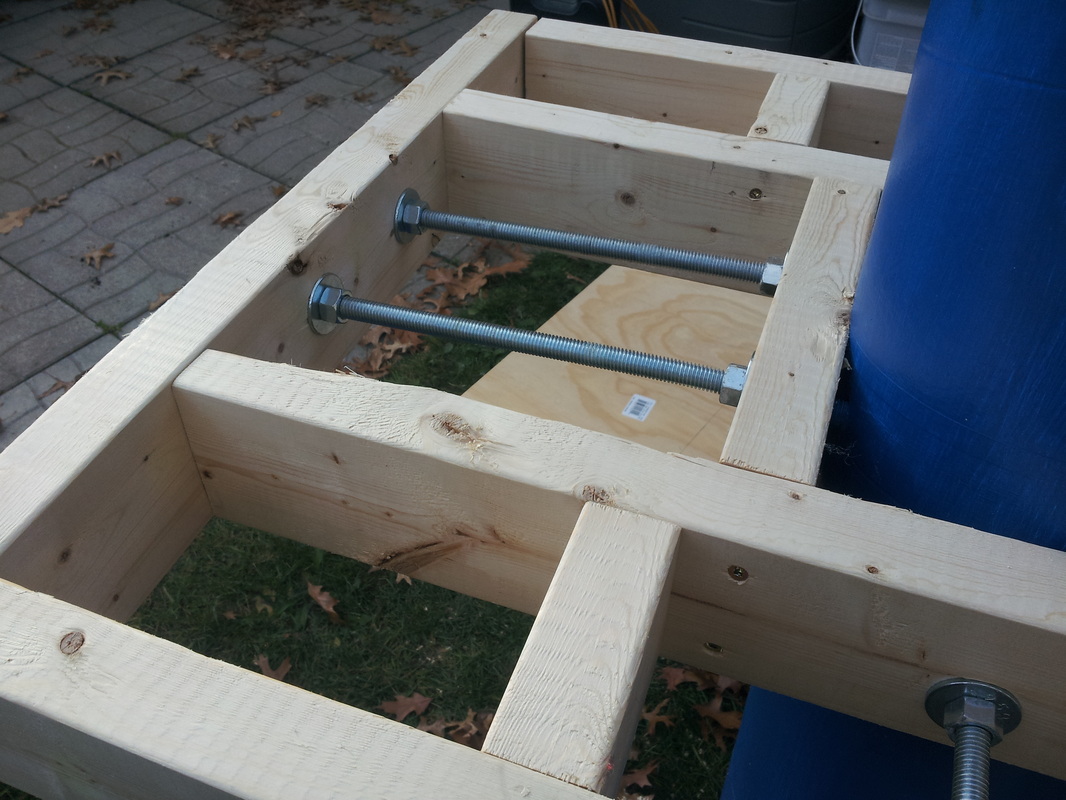
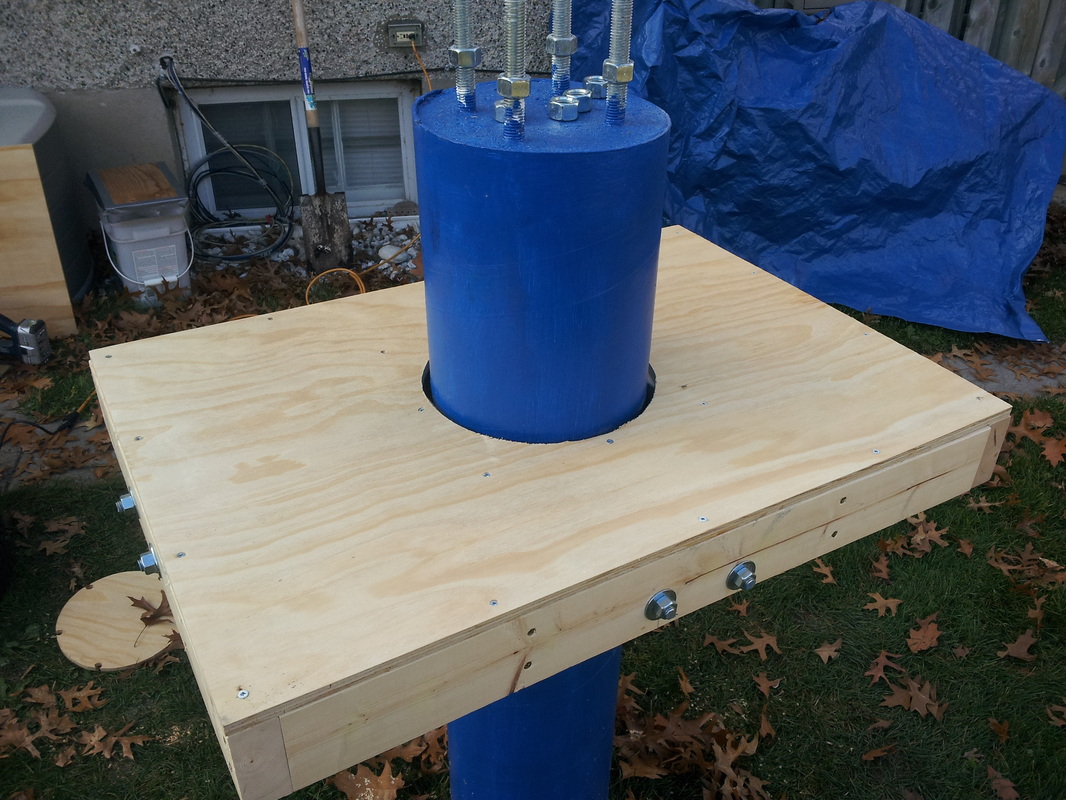
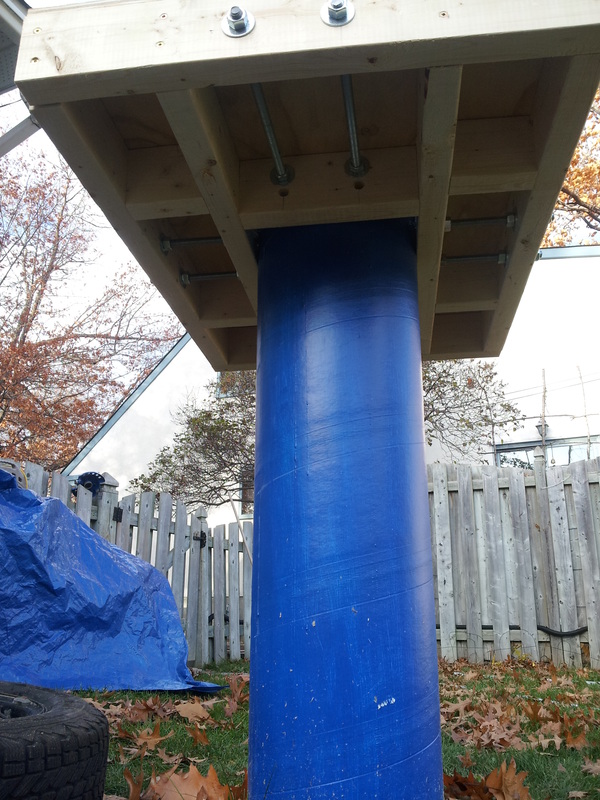
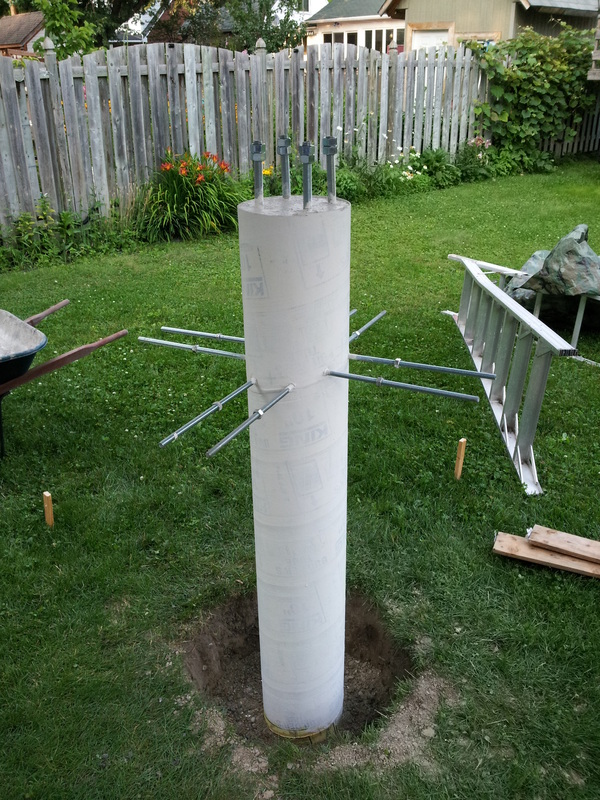
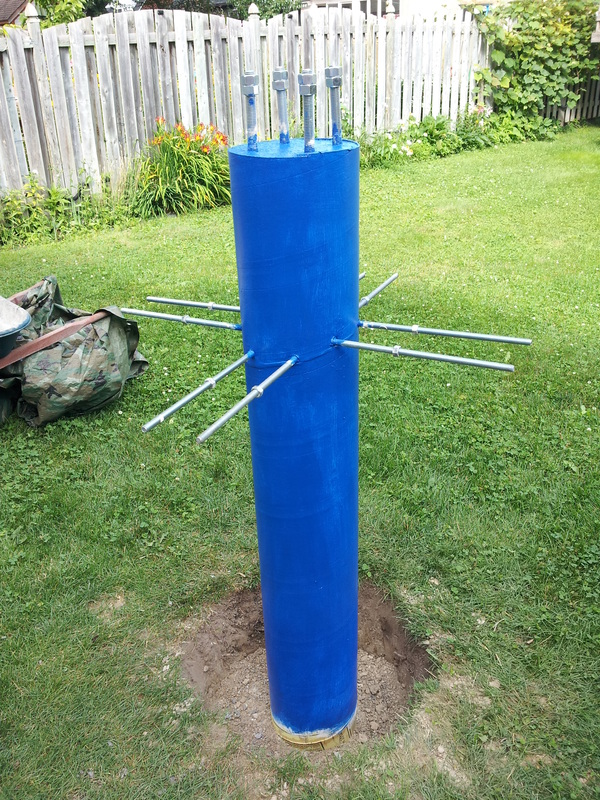
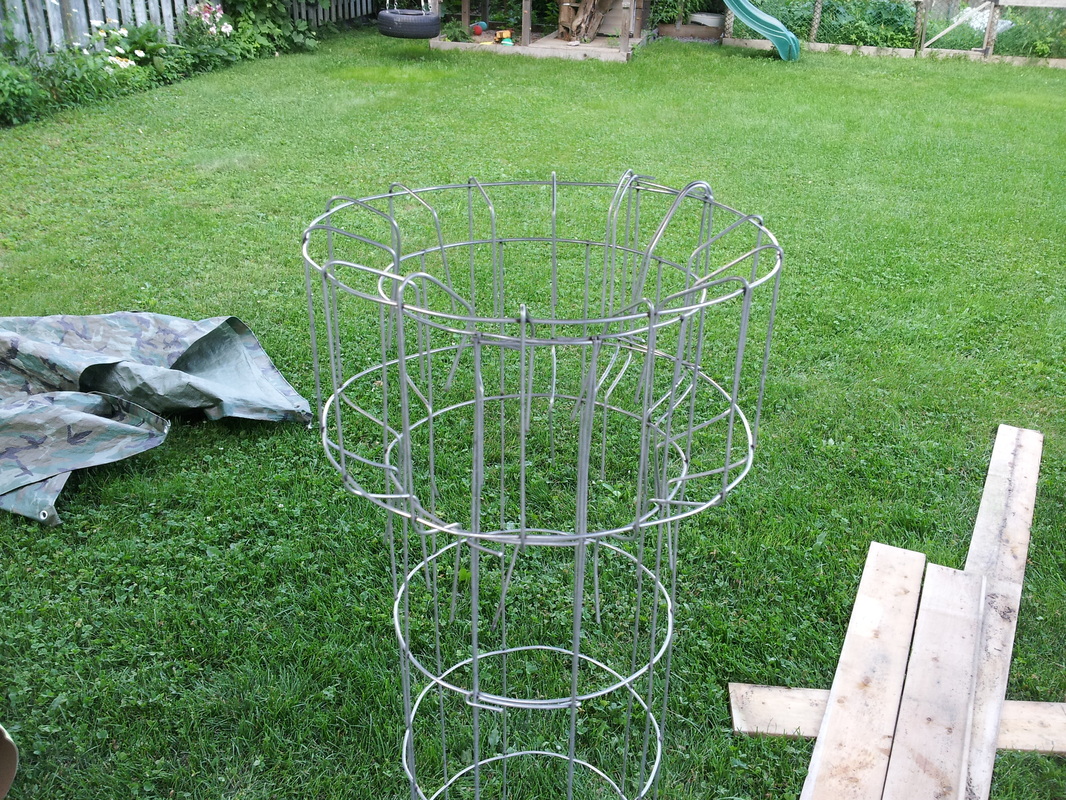
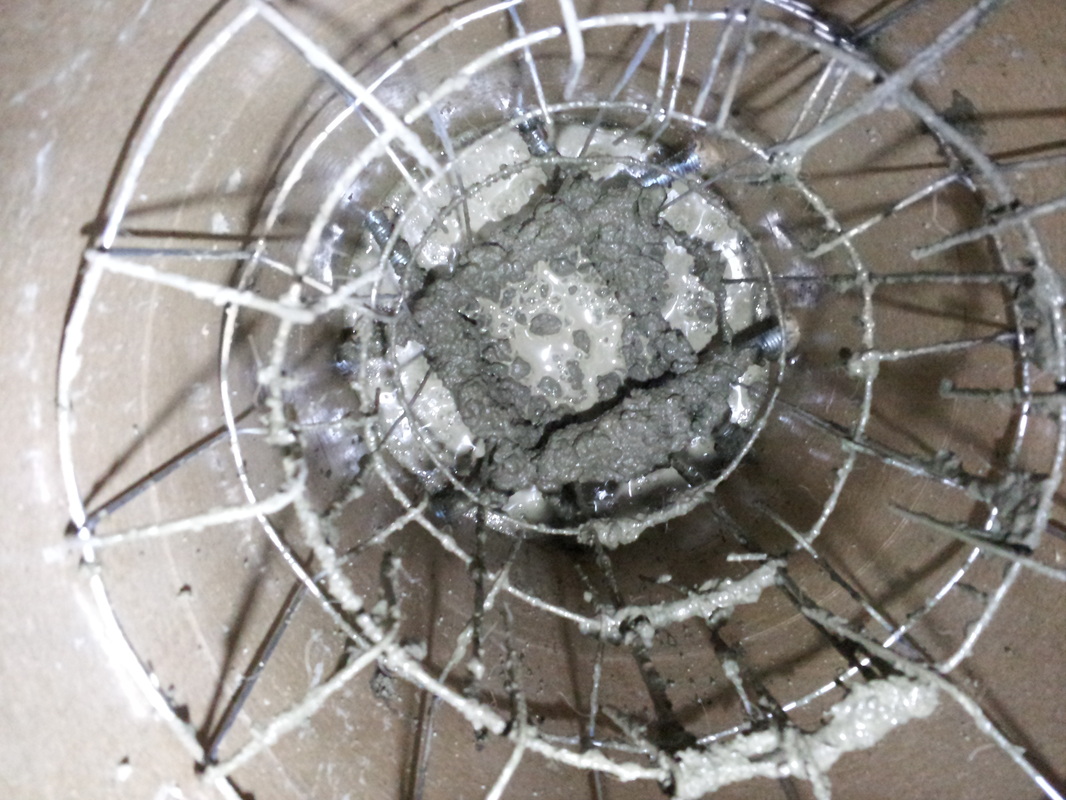
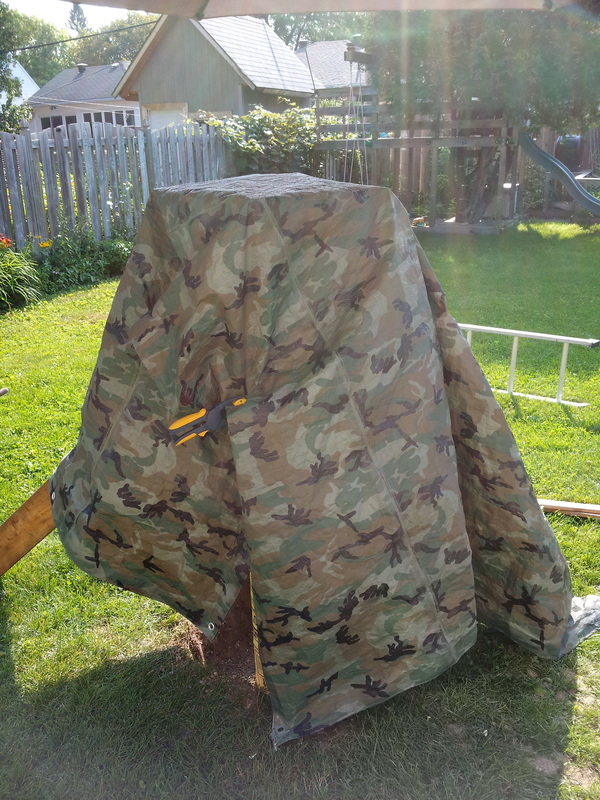
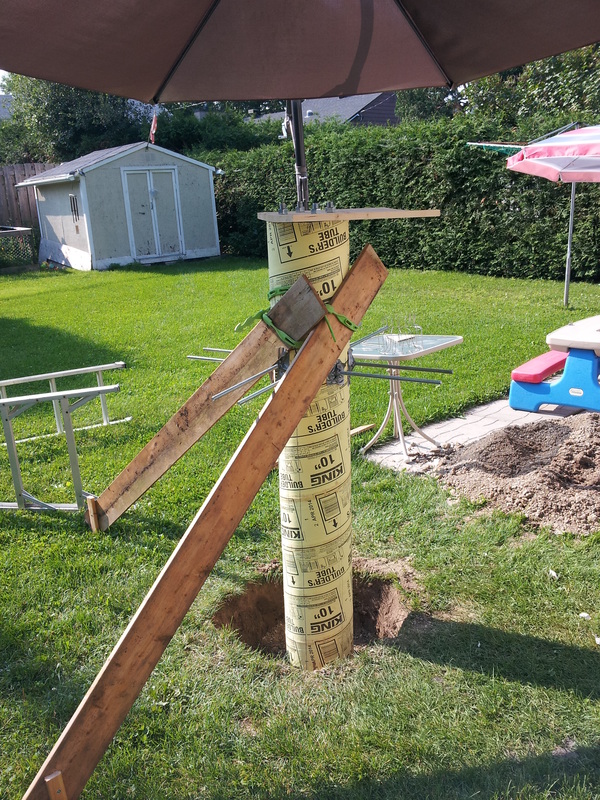
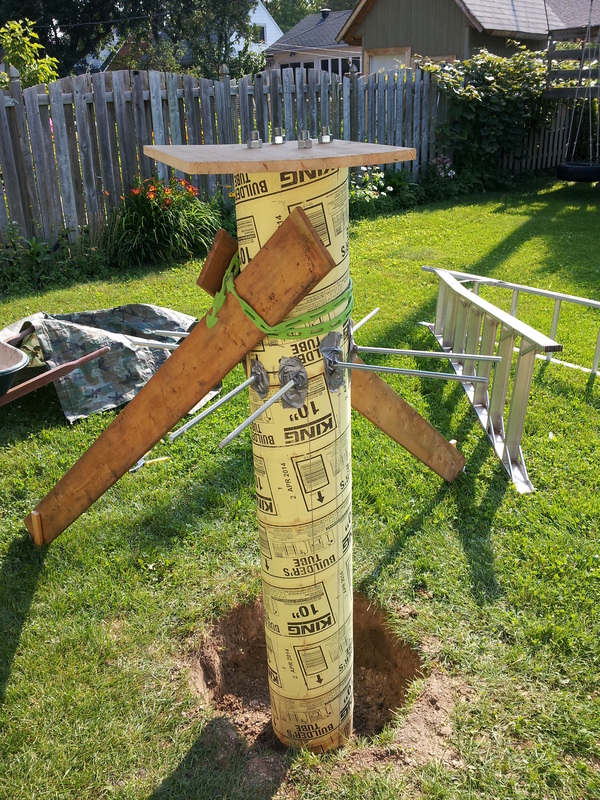
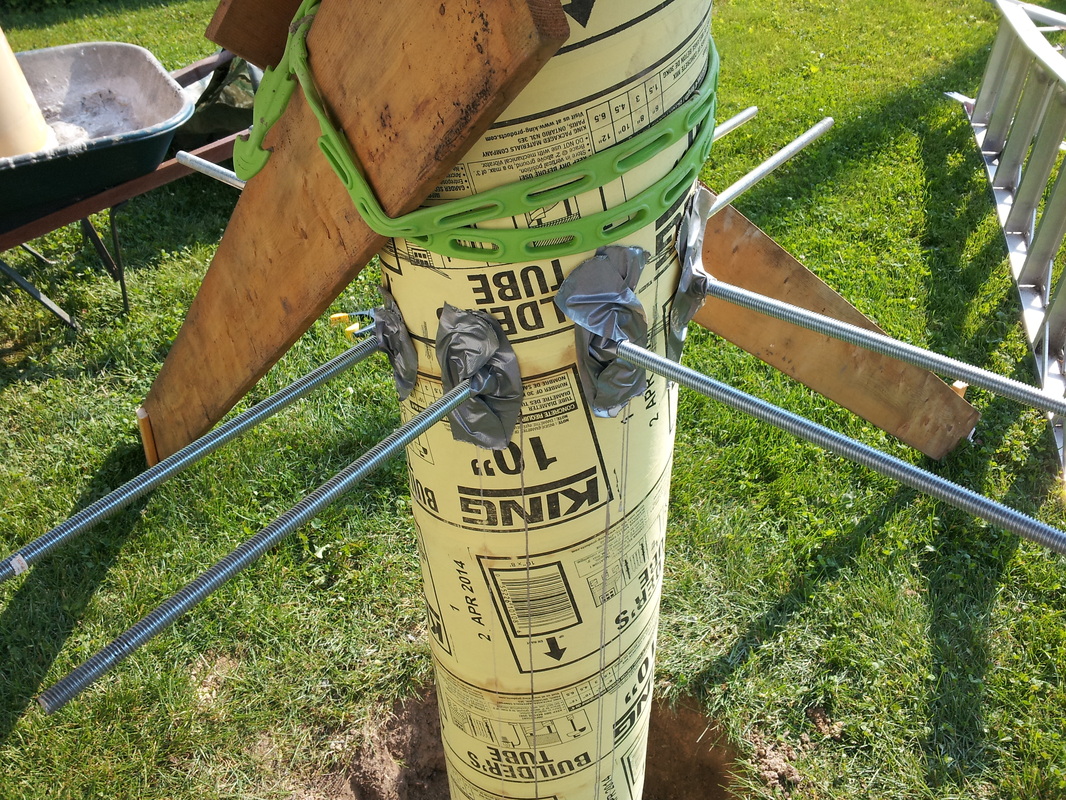
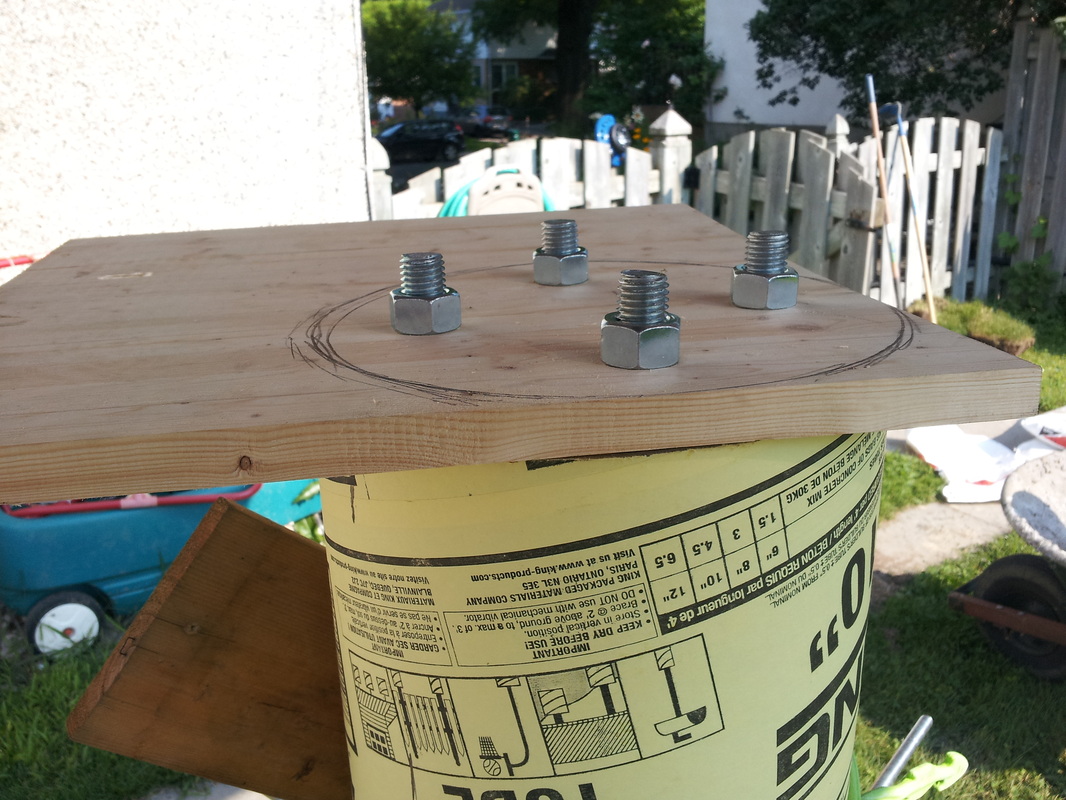
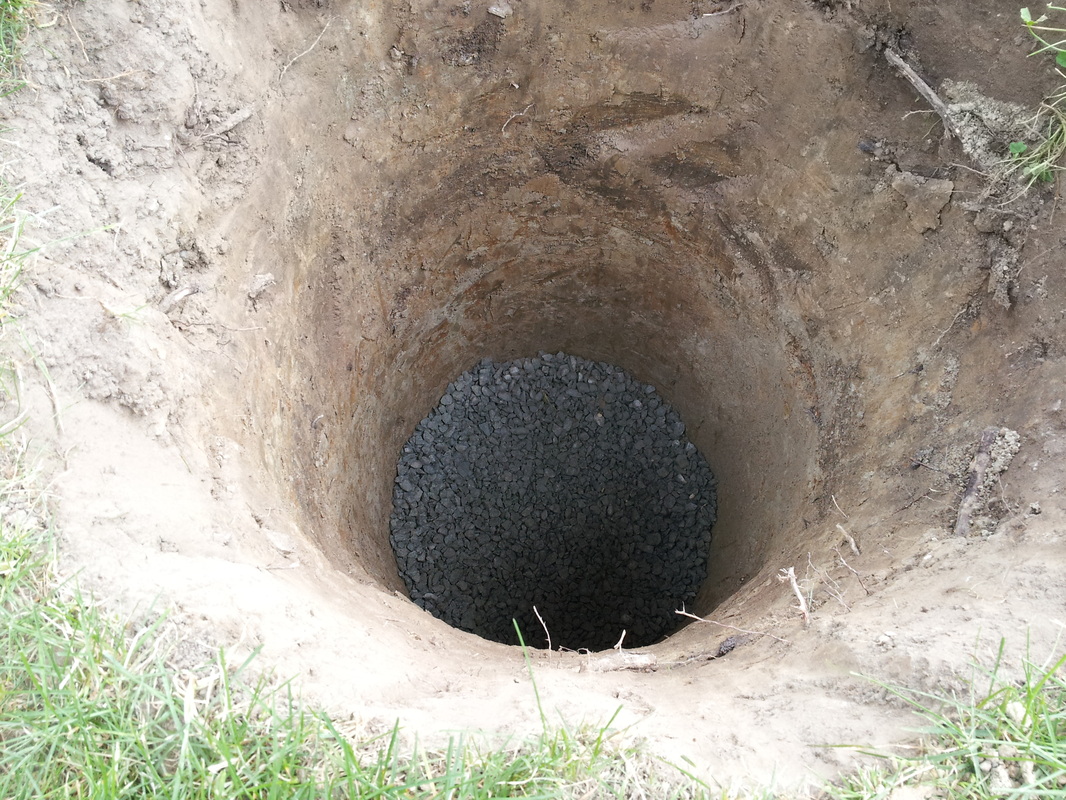
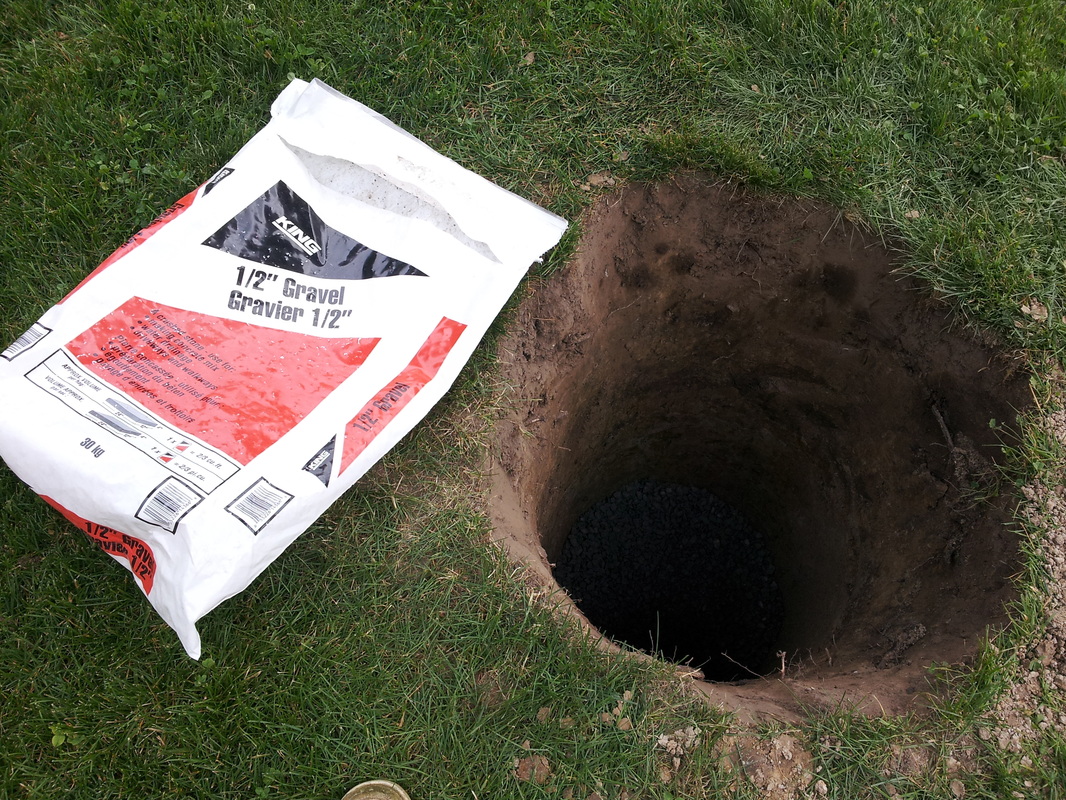
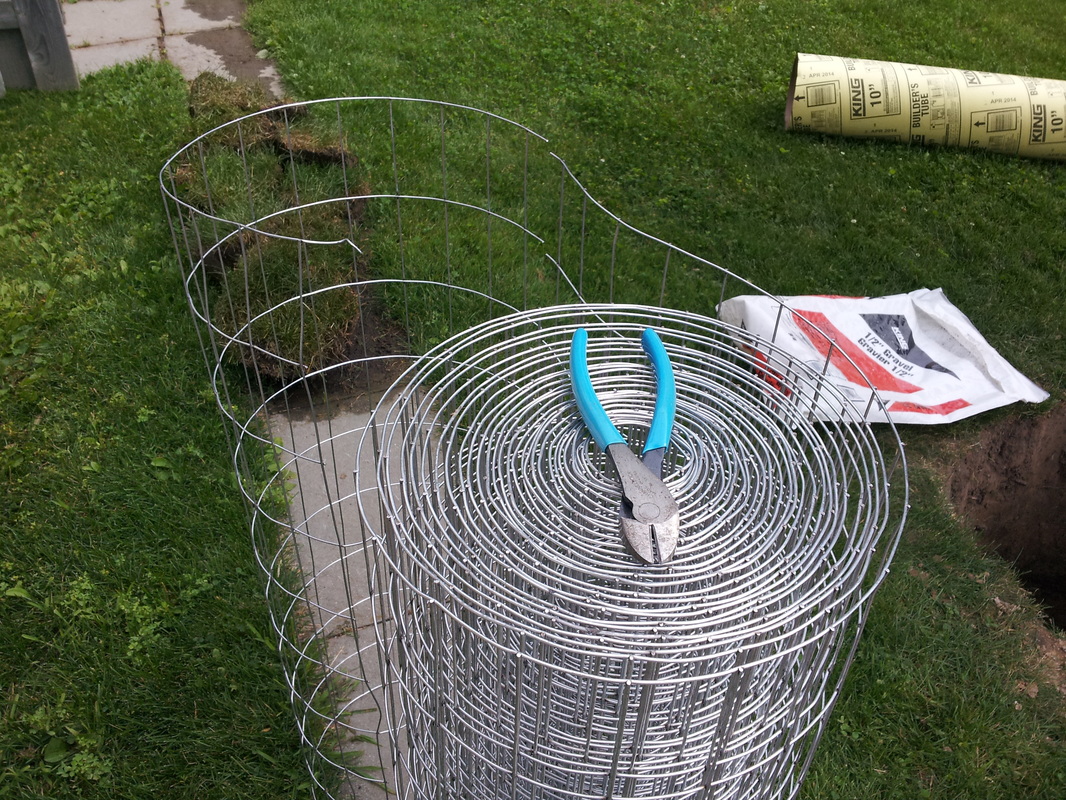
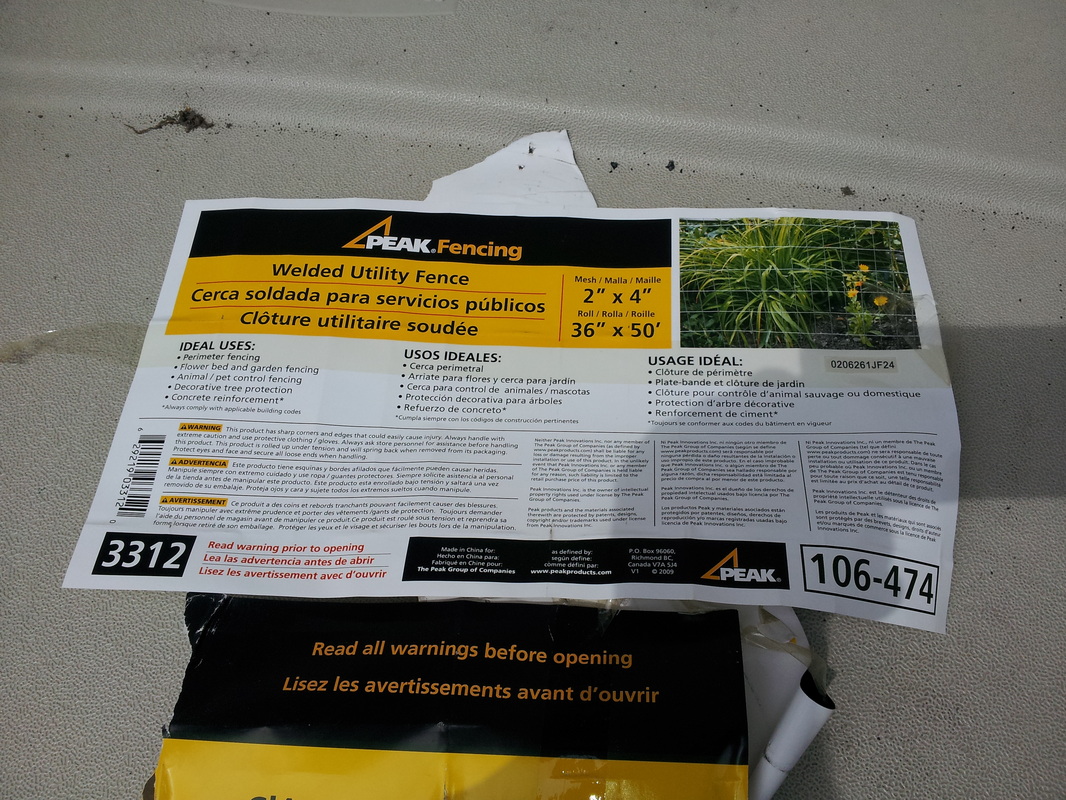
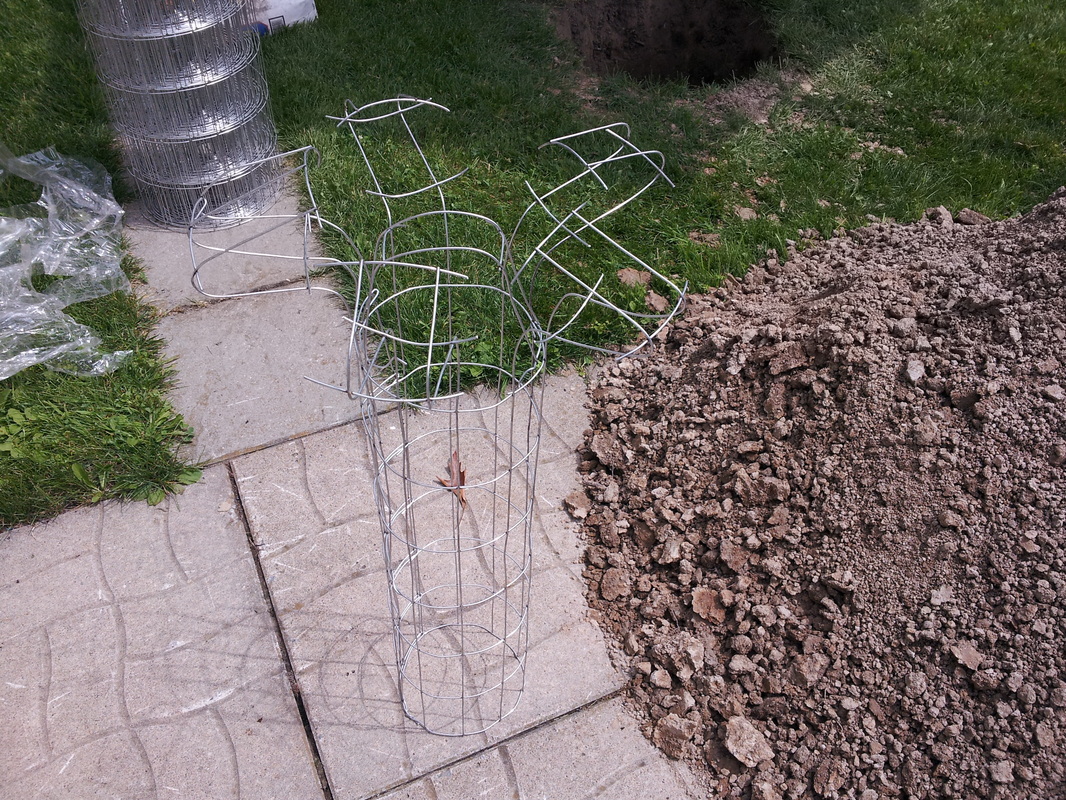
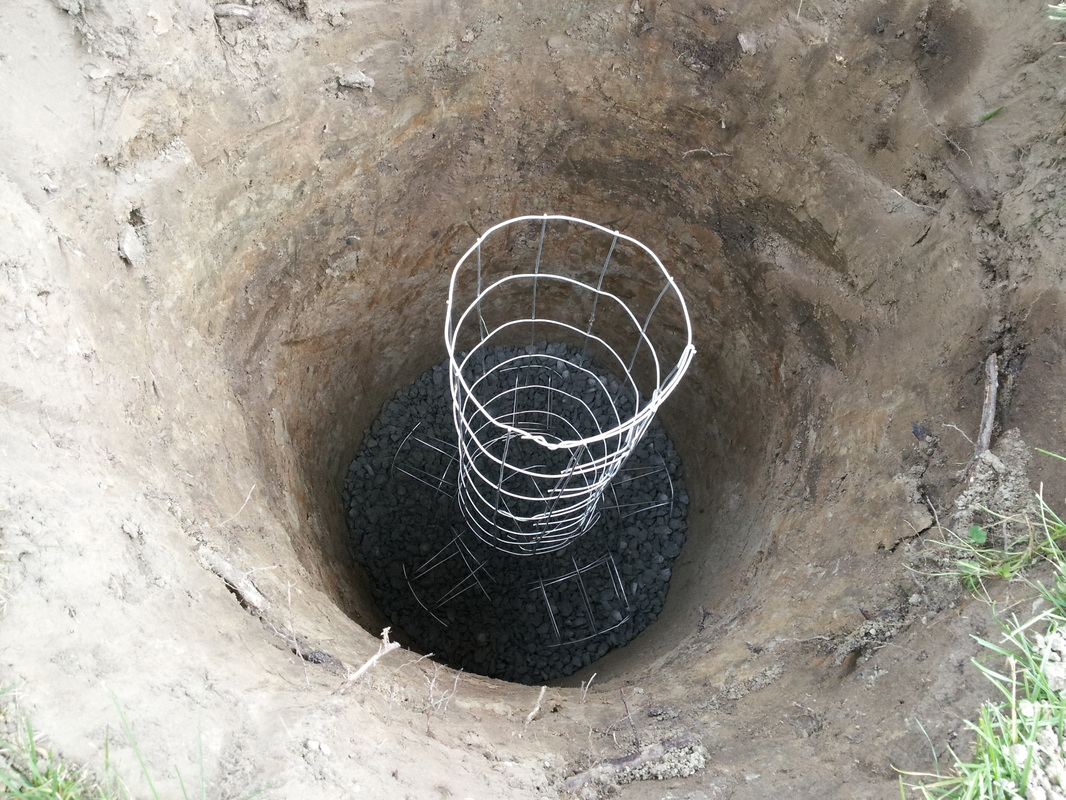
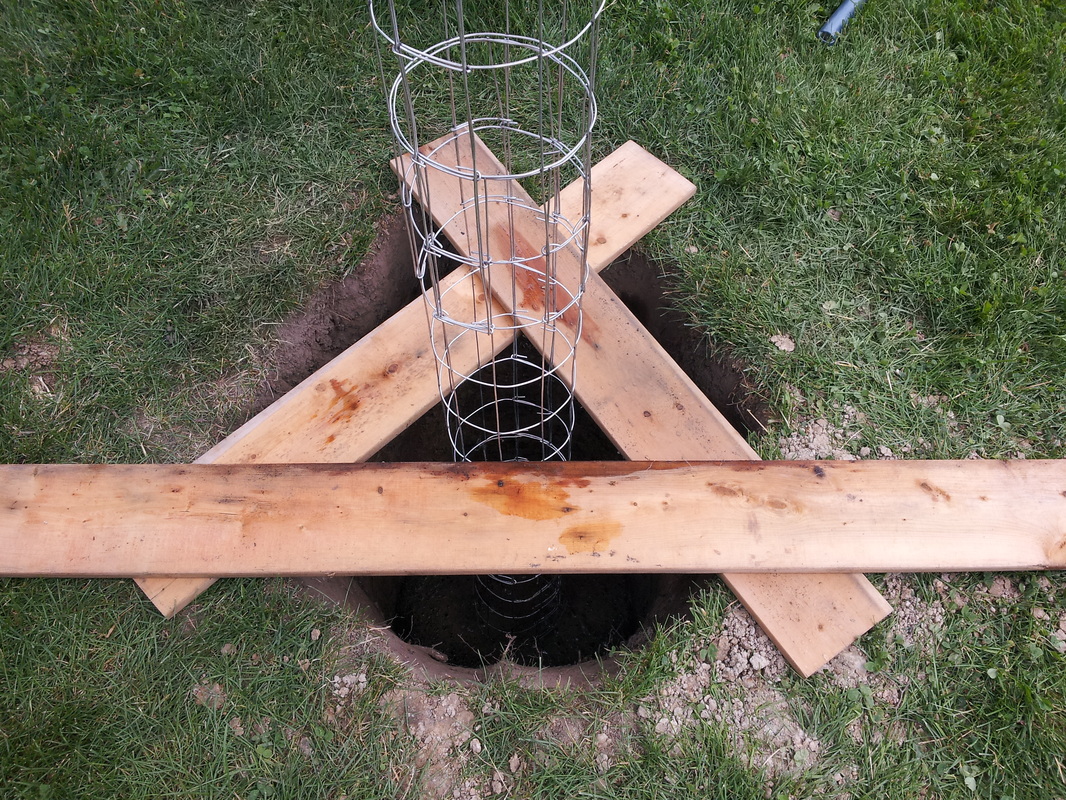
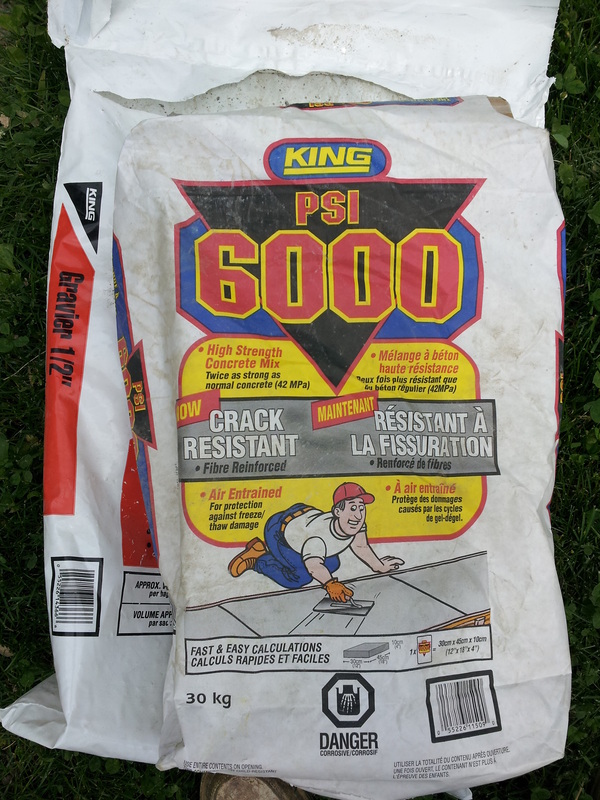
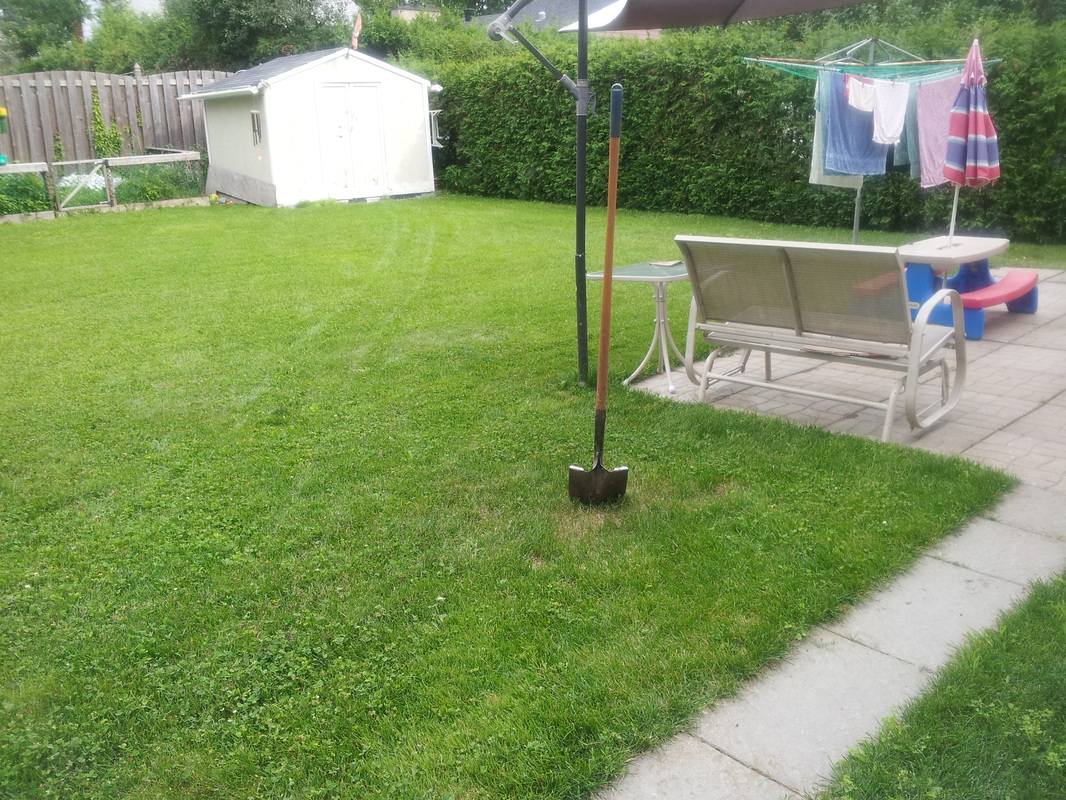
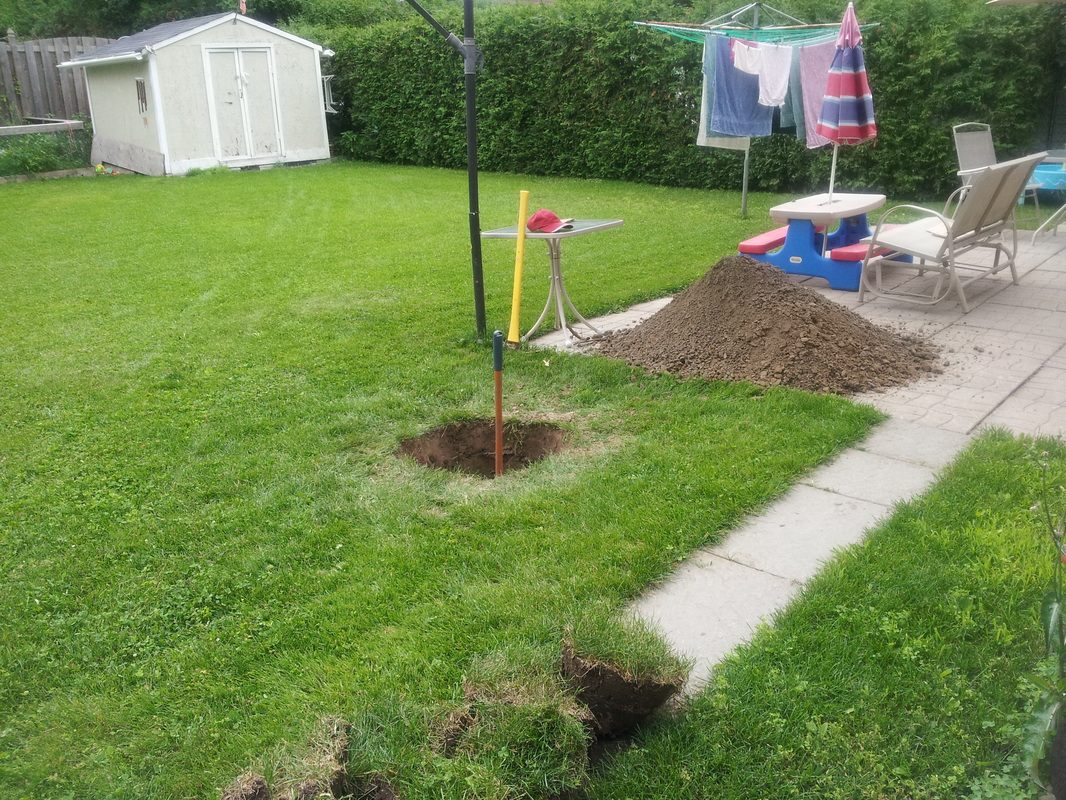
I lucked into another gorgeous sunny Fall day Saturday. I was able to get all of my excavation work completed, and good thing too as it started snowing the following day. I used PVC conduit to run my wires; a 1.25" run for my data cables, and a 0.5" run for the 110VAC. I am glad I went as large as I did for the data cables as with connectors it was just large enough to string the cables through with no snags. I ran 6 different data cables, from computer in the basement to the pier about 60' away. The six cables include: S-video, two Cat5's, 9-pin serial, an active USB2 extender, and an active USB3 extender. I put the data cables in first as the large 90degree elbow that comes with this size conduit lends itself to being buried deep. The 110AC runs across and over top the data conduit. The PVC conduit was pretty easy to work with, simply cut with a hand saw and use the adhesive to glue together. Once I had all the wiring done, I sealed everything up with the polyurethane expanding foam that you get for sealing around doors and windows. It can be messy, but cleans up not too bad after it has cured. Judging by the snowfall Sunday and Monday, I'd say I finished this step in the nick of time! Well, Fall is upon us and Winter is not far behind. It is time to make a final push to get the pier operational before the snow flies. Until this past weekend I did not have a chance to do anything on the pier as my time was dedicated to other jobs around the house (like raking leaves!). I was able to get the integrated work table finished, and a start to the routing of power and data cabling. The finished work table dimensions are 24" wide by 34" long, and it is set at my standing working height of about 42" off the ground. It will provide plenty of room for my laptop plus a couple of accessory cases. The pier is going to be exposed to the elements so I decided to give it a coat of paint to help protect it. I started by trimming off the sonotube flush with the top of the concrete. I then gave the whole thing a coat of primer followed by 3 coats of latex paint (picture below is after 2 coats). I'll let the kids paint some stars and planets on it later. This is where the pier will be left now for a while as I will be busy doing other things for the next couple weeks. The next steps will be to run 120VAC and my data cables underground and up the outside of the pier, and to build the wooden deck that will attach to the 1/2" threaded rods. Click on the images below to see a larger version. Pouring the rest of the concrete pier was a bit of a push. I thought it was important to do it all in one go so that the bond between layers was as strong as possible (I mixed and poured one 30kg bag at a time). That meant a long night for me as I wasn't able to get started until 7pm. Before I started I swung by Home Depot again to get the rest of the concrete I would need, 5 more bags for a total of 9 bags (including foundation). That came to another $40 plus tax. The process began by first making a quick little hat from a piece of the steel fencing that I put temporarily on the top of my cage. The hat was sized just slightly smaller than the sonotube ID, and its purpose was to keep the cage centered in the sonotube while I was pouring the concrete. With the hat in place I put the sonotube into position, and anchored the bottom with another 30kg bag of gravel evenly distributed and packed down. I then added wooden braces to the sonotube, confirming that it was plumb vertical. Now that the sonotube was secured I filled the rest of the hole around it back in using the dirt I dug out initially. I packed the dirt as I went, using a sledgehammer as a tamping tool. I made sure to double check the sonotube was still plumb along the way. With the sonotube now fairly secure I worked out the location of my 1/2" deck support rods, mount anchor bolt height, and concrete fill height, and marked it all on the exterior of the sonotube. I needed to trim 9" off the sonotube so that the mount anchor bolts would be at the correct height. I drilled holes and installed the 1/2" threaded rods, and pre-assembled the piece of plywood that would hold the four mount anchor bolts in the correct position when they were inserted into the concrete. Then began the ardous task of hand mixing up 8 bags of concrete, shoveling it into a bucket, shlepping it up a step ladder and pouring it into the sonotube. Once the sonotube was filled up to my preselected level I inserted the mount anchor bolts. I then covered the whole thing with a tarp and patio umbrella to keep it (relatively) cool while it cures. All this took about 4 hours to complete. In noted that at the end of all the pouring that the sonotube, despite all the bracing, was still quite wobbly. I think that due to the mass of wet concrete involved, you can not brace too much. This morning when I checked it, the pier was solid as a rock...sweet! Click on the pictures below to see a larger version. By foundation I am referring to the concrete base of the pier; the cap of an upside down mushroom if you will. I started by putting one 30kg bag of gravel into the hole, packing it down firmly. I then cut a section of steel fencing off the roll and formed it into a cylindrical cage of about 1/2 the diameter of the sonotube, so about 5". On the bottom I made a little mushroom shape so that the metal cage would stand up in the hole by itself plus add some reinforcement to the concrete foundation. I then mixed up one 30kg bag of concrete and poured it all into the hole. I had a while to wait while this pour set, so I rested some boards against the cage to give some support, then extended the cage upwards to just below the height of my pier, about 48" above ground level. I then covered the whole thing with a tarp and went to see Monty Python live via satellite with a buddy. Click on the images below to enlarge them. I had already selected where I want the pier a while ago. I have been setting my tripod up on this spot for the past year or so and it seems to be the best balance between view of sky and shelter from nearby porch lights. Digging was no fun. After the top 6" of topsoil the rest of the way down was solid clay (thanks for nothing Champlain Sea!) It took me about 2 hours of hand digging to get a hole roughly 24" across and 42" deep. I will be sore in the morning! Click on the images below to enlarge them. |
AuthorJim is an aerospace engineer living and working in Ottawa, Canada. He is also an amateur astronomer. Archives
November 2014
Categories |
|
ABBEY ROAD OBSERVATORY Telescope Pier Installation Blog |
|


 RSS Feed
